

Gluten Free Protein Balls – Easy & Healthy Protein Rich Meal
Gluten Free Protein Balls
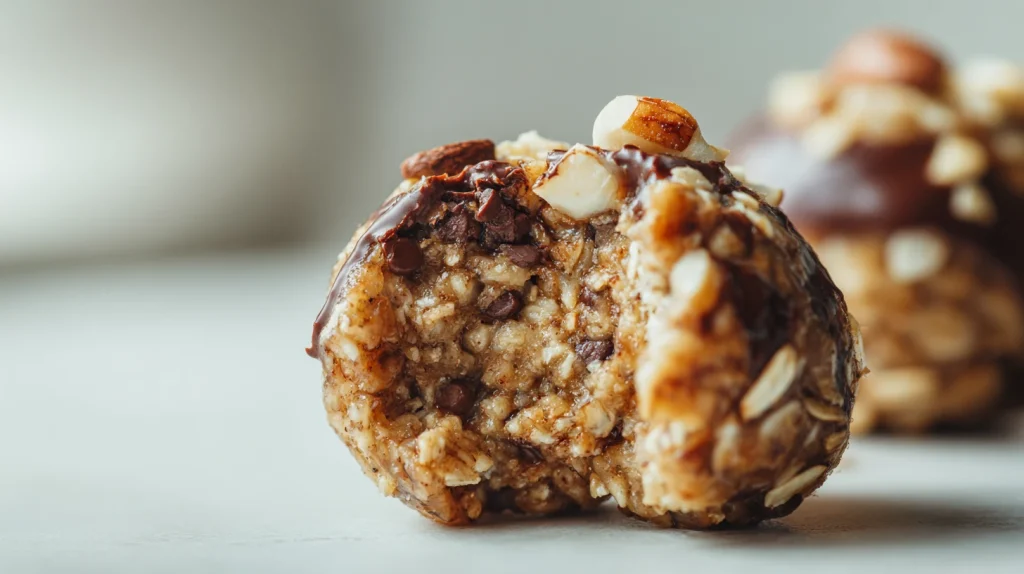
Gluten free protein balls are one of those recipes that quietly become part of your everyday routine. They are simple, satisfying, and incredibly adaptable. Made with wholesome ingredients like oats, nut butter, and natural sweeteners, these small bites deliver both flavor and nourishment in every bite. The taste is rich and balanced. You get a gentle sweetness from honey or dates, a creamy texture from nut butter, and a slightly chewy bite from oats. When done right, they feel indulgent without being heavy. This is why they are often called power oat balls or power bites energy balls. They hit that perfect middle ground between a snack and a treat.
What makes gluten free protein balls truly special is how accessible they are. You do not need baking skills, special equipment, or complicated ingredients. These are classic no bake high protein snacks that come together in minutes. Whether you are making protein balls oats for a post workout boost or preparing easy protein snacks for kids, this recipe works for everyone. They are also flexible enough to fit different dietary needs. You can make protein balls no protein powder or add a boost depending on your preference. From clean protein balls to fiber energy balls, there are endless ways to adapt them to your lifestyle.
Why You’ll Love This Recipe
This recipe is designed with both flavor and function in mind. It is not just about mixing ingredients but understanding how they work together to create a balanced, delicious snack.
Preparation and Cooking Time, also serving
Ingredients
Optional Add-Ins
Substitution Notes
Step-by-Step Instructions
Step 1 Prepare the dry base
In a large mixing bowl, combine the gluten free rolled oats, ground flaxseed, chia seeds, and salt. Mix thoroughly so the smaller ingredients are evenly distributed throughout the oats. This ensures every bite has balanced texture and nutrition.
Step 2 Mix the wet ingredients
In a separate bowl, combine the nut butter, honey, and vanilla extract. Stir until smooth and fully blended. If the nut butter is too thick, warm it slightly for easier mixing.
Step 3 Combine wet and dry
Pour the wet mixture into the dry ingredients. Use a spatula or your hands to mix everything together. The mixture should start to clump together as you mix.
Step 4 Adjust consistency
If the mixture feels too dry and crumbly, add milk one tablespoon at a time. If it feels too sticky, add a small amount of oats. The final mixture should hold together when pressed without sticking excessively to your hands.
Step 5 Add texture and flavor
Fold in chocolate chips, nuts, or coconut. Mix gently to avoid overworking the mixture. This step gives your gluten free protein balls their signature bite and variety.
Step 6 Shape the balls
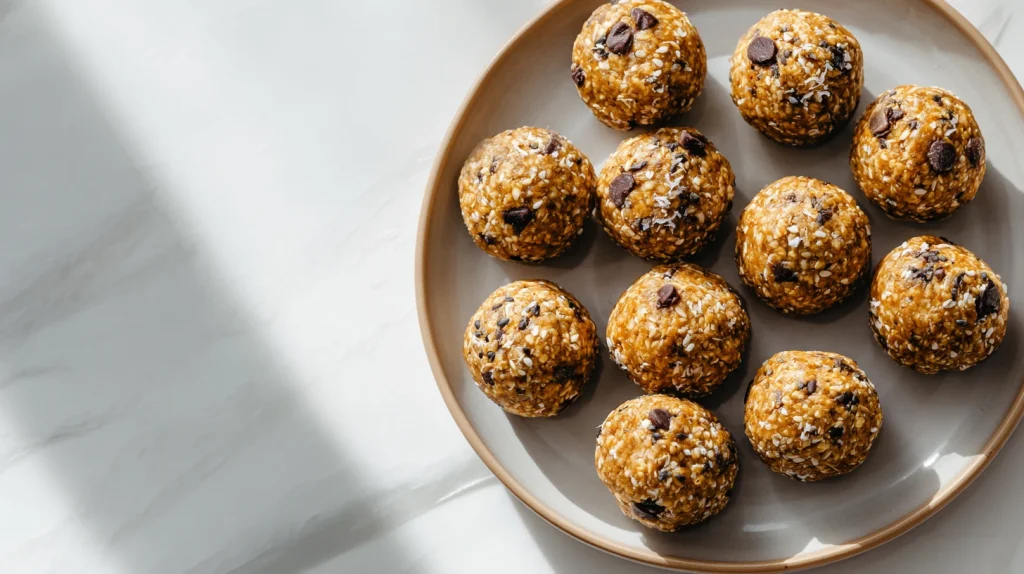
Scoop about one tablespoon of mixture and roll it between your palms to form a ball. Repeat until all the mixture is used. Keep the size consistent for even portioning.
Step 7 Chill to set
Place the balls on a tray lined with parchment paper and refrigerate for at least 20 minutes. This step helps them firm up and develop their final texture.
How to Serve
Additional Tips
Recipe Variations
Freezing and Storage
Nutritional Information
Approximate per serving one ball
These values may vary depending on ingredients used.
Final Words
Gluten free protein balls are more than just a convenient snack. They are a smart, dependable solution for busy days when you need something quick but still nourishing. Instead of reaching for processed options, you can rely on these homemade bites that are built from simple, whole ingredients. The balance of oats, healthy fats, and natural sweetness creates a snack that feels satisfying without being heavy. Once you start making your own gluten free protein balls, it becomes clear how much better they taste compared to store-bought versions, and how easily they fit into your daily routine.
What truly makes this recipe valuable is its flexibility. You are not limited to one version or flavor. You can adjust the ingredients based on what you have at home or what your body needs. Whether you are making protein balls oats for a post-workout boost, creating easy protein snacks for kids, or preparing high fiber energy balls for better digestion, the base recipe adapts effortlessly. This is the kind of recipe that evolves with your lifestyle, allowing you to create clean protein balls, energy balls no bake healthy options, or even protein balls no protein powder without compromising on taste or texture.
As you get comfortable with the process, you will start to develop your own variations and preferences. You might prefer a softer texture, a richer chocolate flavor, or a more natural sweetness from dried fruits. Each batch becomes an opportunity to refine and personalize. That is the beauty of gluten free protein balls. They are simple at their core, yet endlessly customizable. Keep a batch ready in your fridge or freezer, and you will always have a reliable, homemade snack that supports your energy, saves time, and makes healthy eating feel effortless.
FAQs

Gluten Free Protein Balls – Easy & Healthy Protein Rich Meal
Course: Snacks16
servings15
minutes20
minutes110
kcalIngredients
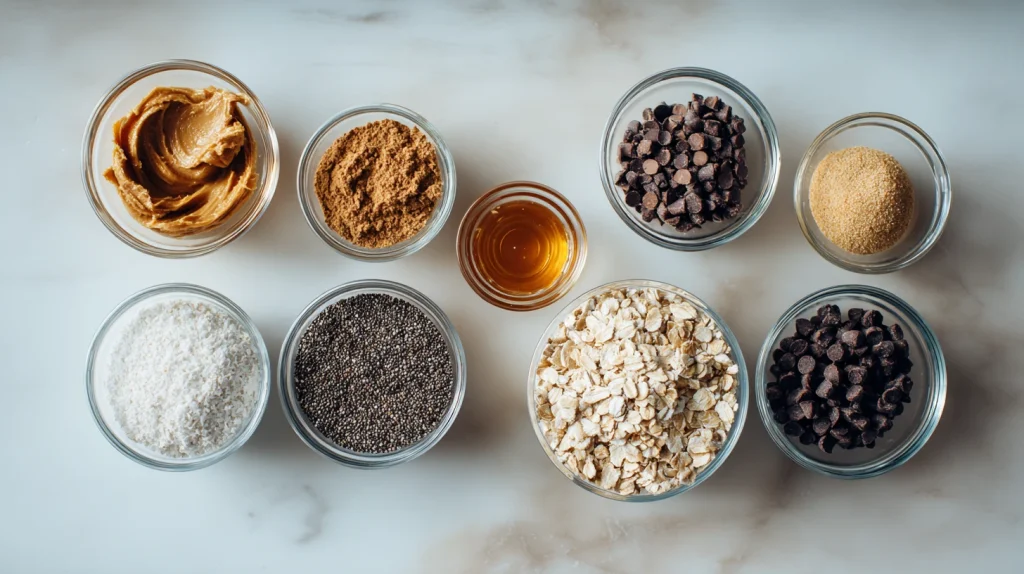
1 1/2 cups gluten free rolled oats
1/2 cup natural peanut butter or almond butter
1/3 cup honey or maple syrup
1/4 cup ground flaxseed
1/4 cup chia seeds
1/3 cup mini dark chocolate chips
1 teaspoon vanilla extract
1/4 teaspoon salt
2 to 4 tablespoons milk or dairy free milk as needed
- Optional Add-Ins
2 tablespoons shredded coconut
2 tablespoons chopped nuts
1 scoop protein powder if desired
Directions
- In a large mixing bowl, combine the gluten free rolled oats, ground flaxseed, chia seeds, and salt. Mix thoroughly so the smaller ingredients are evenly distributed throughout the oats. This ensures every bite has balanced texture and nutrition.
- In a separate bowl, combine the nut butter, honey, and vanilla extract. Stir until smooth and fully blended. If the nut butter is too thick, warm it slightly for easier mixing.
- Pour the wet mixture into the dry ingredients. Use a spatula or your hands to mix everything together. The mixture should start to clump together as you mix.
- If the mixture feels too dry and crumbly, add milk one tablespoon at a time. If it feels too sticky, add a small amount of oats. The final mixture should hold together when pressed without sticking excessively to your hands.
- Fold in chocolate chips, nuts, or coconut. Mix gently to avoid overworking the mixture. This step gives your gluten free protein balls their signature bite and variety.
- Scoop about one tablespoon of mixture and roll it between your palms to form a ball. Repeat until all the mixture is used. Keep the size consistent for even portioning.
- Place the balls on a tray lined with parchment paper and refrigerate for at least 20 minutes. This step helps them firm up and develop their final texture.


