Canned Apple Pie Filling – Easy Homemade Apple Filling
Canned Apple Pie Filling
Canned apple pie filling is one of those kitchen staples that instantly brings comfort, aroma, and versatility into your cooking. Whether you’re baking a classic pie, folding it into turnovers, or spooning it over pancakes, this homemade version transforms simple apples into a ready-to-use dessert base. Unlike store-bought cans, homemade canned apple pie filling has richer flavor, better texture, and no artificial thickeners or preservatives.
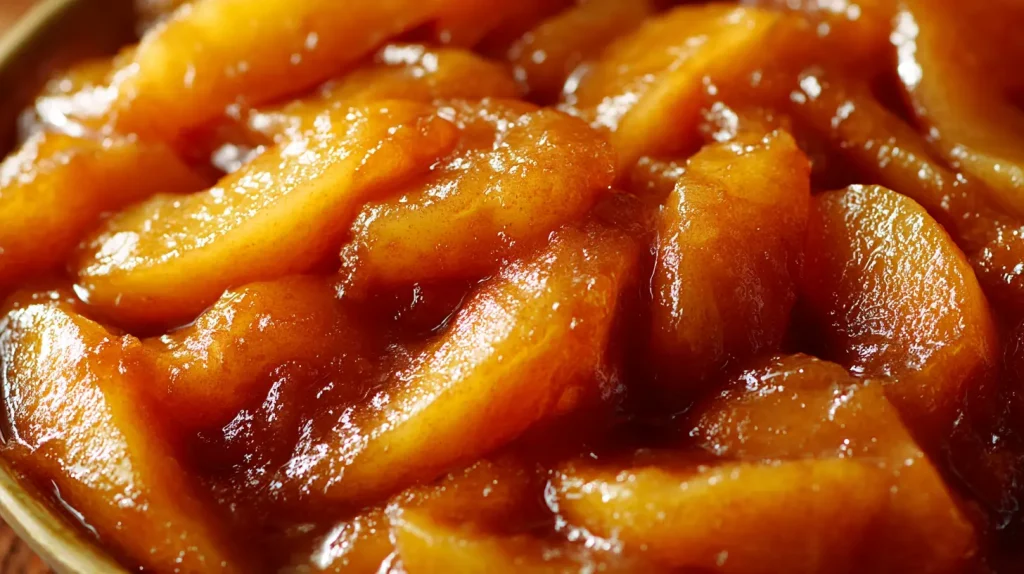
What makes this recipe special is its balance of sweetness and tartness, the gentle spice of cinnamon and nutmeg, and a glossy syrup that clings beautifully to each slice. The apples remain tender but not mushy, creating the perfect consistency for pies, crisps, or cobblers. Once canned properly, jars of apple pie filling can last up to a year on the shelf, making them a reliable shortcut for future desserts. Home cooks love this method because it preserves the flavor of fresh fall apples in a way that’s both practical and deeply nostalgic.
Why You’ll Love This Recipe
Canned apple pie filling is one of those recipes that blends simplicity, flavor, and practicality, making it a must-have in any home kitchen. Here’s why this recipe stands out:
This recipe isn’t just about creating a sweet topping it’s about convenience, quality, versatility, and the comforting taste of homemade goodness. Every batch ensures you’ll have a ready-to-use, flavorful ingredient that elevates desserts and makes everyday cooking easier and more delightful.
Preparation and Cooking Time, Also Serving
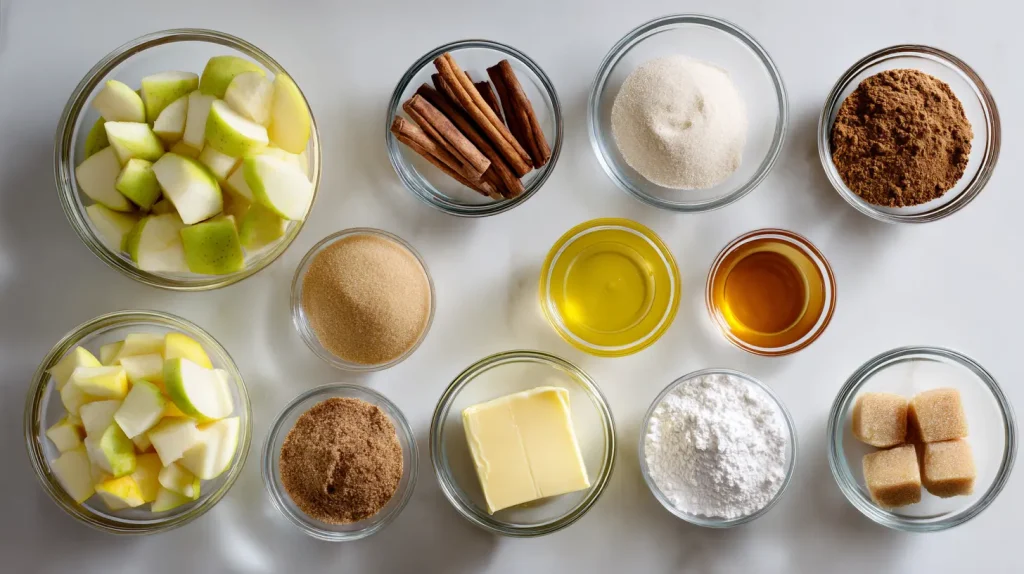
Ingredients
Substitution Notes:
Step-by-Step Instructions
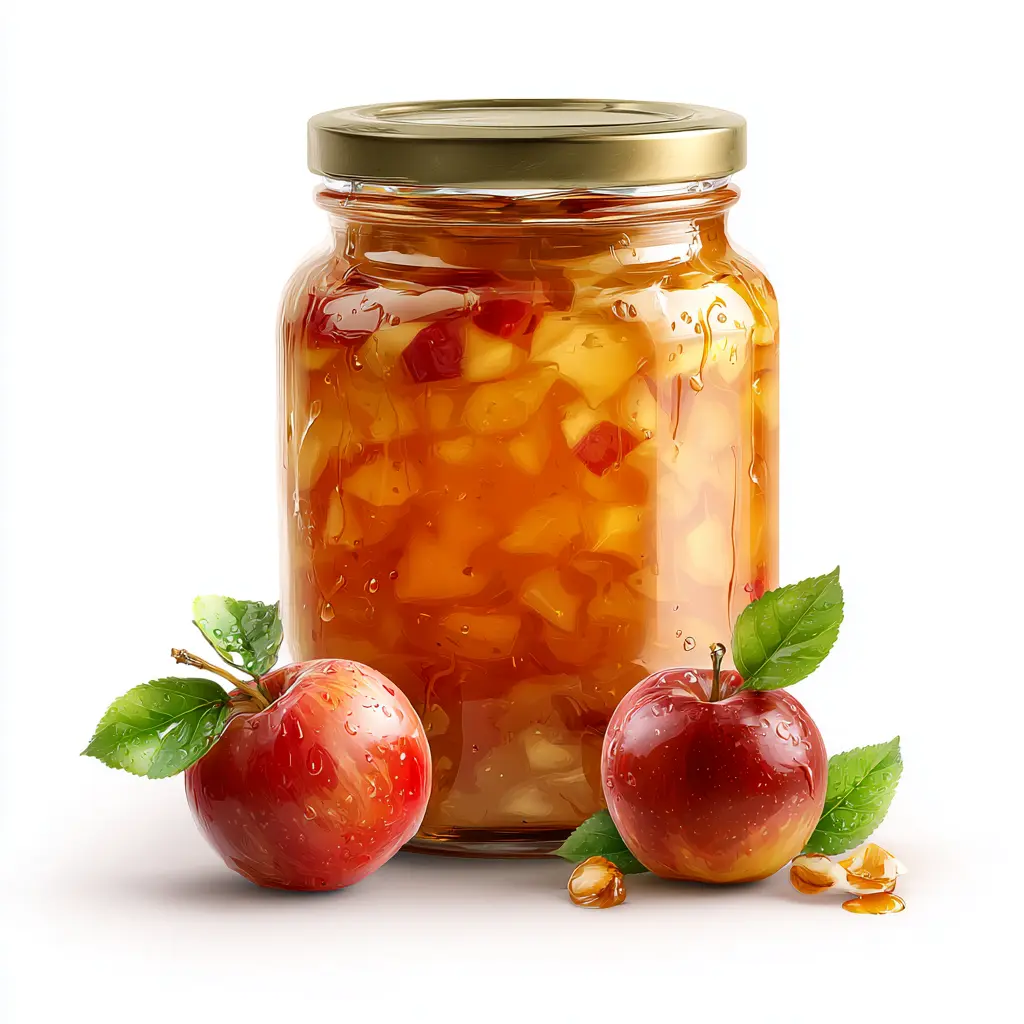
Step 1: Prepare the Apples
Peel, core, and slice the apples into even ¼-inch slices. Uniform slices ensure even cooking. Place them in a large bowl with water and a splash of lemon juice to prevent browning while you prepare the syrup.

Step 2: Make the Syrup Base
In a large stockpot, whisk together sugar, brown sugar, cornstarch (or Clear Jel), cinnamon, nutmeg, and salt. Gradually stir in the 10 cups of water until the mixture is smooth. Bring it to a boil over medium heat, stirring constantly to prevent lumps. The syrup will thicken and turn glossy as it cooks.

Step 3: Add Lemon Juice and Flavoring
Once the syrup thickens, reduce heat to low and stir in the lemon juice and vanilla extract. This not only balances the sweetness but helps preserve the apples’ color.

Step 4: Cook the Apples
Add the drained apple slices to the syrup. Stir gently and cook for 5 minutes, just until the apples begin to soften. They should still hold their shape, as they’ll cook further during the canning process.

Step 5: Fill the Jars
Using sterilized canning jars, fill each with the hot apple mixture, leaving about 1 inch of headspace. Wipe the rims clean with a damp cloth to ensure a proper seal.

Step 6: Seal and Process
Fit each jar with sterilized lids and bands. Process in a boiling water canner for 25 minutes (adjust for altitude if necessary). Remove jars and let them cool on a towel-lined surface. You’ll hear a satisfying “pop” as each lid seals.

Step 7: Store
After 24 hours, check seals and label each jar with the date. Store in a cool, dark place for up to 12 months.
How to Serve
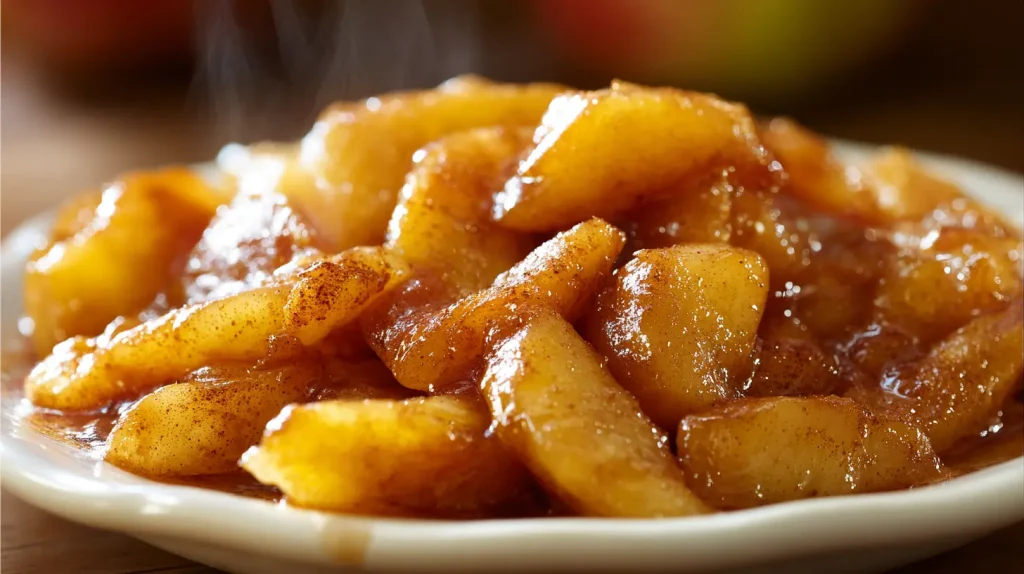
Homemade canned apple pie filling can be used in countless ways beyond pies.
Additional Tips
Recipe Variations
Canned apple pie filling is incredibly versatile, and with small tweaks, you can create exciting variations that suit different tastes, occasions, and desserts. Here are several creative ways to elevate this classic recipe:
Each variation keeps the heart of the recipe intact the tender, spiced apples in a glossy, flavorful syrup while introducing unique flavor profiles. These tweaks allow you to tailor your canned apple pie filling for different desserts, occasions, or even seasonal inspirations, making it a versatile and indispensable ingredient in your kitchen.
Freezing and Storage
Nutritional Information (Per Serving)
These values are approximate and depend on the type of apples and sugar used.
Final Words
Canned apple pie filling is more than just a pantry staple it’s a way to hold on to the flavors and memories of fall all year long. When you make it from scratch, you’re not only creating something delicious but also taking part in an age-old cooking tradition of preservation and care. Each jar represents a small investment of time that rewards you later with effortless desserts and heartfelt comfort.
Homemade canned apple pie filling gives you total control over flavor and quality. You choose the apples, the spices, and the sweetness. You get to decide how tender or crisp the fruit should be. The result is something far richer and fresher than any store-bought version. When you open a jar in the middle of winter, the aroma of cinnamon and cooked apples instantly fills the kitchen, reminding you of cozy afternoons and crisp autumn air.
As a chef, I can say that this recipe is both practical and joyful. It’s about transforming simple ingredients into something lasting and beautiful. Once you’ve tried it, you’ll never go back to the canned stuff from the store. Whether you’re baking for your family, preparing holiday gifts, or simply craving the taste of homemade comfort, this canned apple pie filling will always bring warmth to your table.
So set aside an afternoon, fill your kitchen with the scent of simmering apples, and enjoy the quiet satisfaction of sealing your own jars of goodness. When you twist open a lid months later, you’ll taste not just apples but a moment of care, preserved perfectly in time.
FAQ’s
Canned Apple Pie Filling – Easy Homemade Apple Filling
Course: Desserts6
Jars25
minutes30
minutes180
kcalIngredients
12 cups sliced apples (about 4 pounds, peeled and cored)
2 ¾ cups granulated sugar
¾ cup light brown sugar, packed
1 cup cornstarch (use Clear Jel if available for ideal canning results)
1 ½ teaspoons ground cinnamon
¼ teaspoon ground nutmeg
¼ teaspoon salt
10 cups water
2 tablespoons lemon juice (freshly squeezed)
1 teaspoon vanilla extract (optional but adds warmth)
Directions
- Peel, core, and slice the apples into even ¼-inch slices. Uniform slices ensure even cooking. Place them in a large bowl with water and a splash of lemon juice to prevent browning while you prepare the syrup.
- In a large stockpot, whisk together sugar, brown sugar, cornstarch (or Clear Jel), cinnamon, nutmeg, and salt. Gradually stir in the 10 cups of water until the mixture is smooth. Bring it to a boil over medium heat, stirring constantly to prevent lumps. The syrup will thicken and turn glossy as it cooks.
- Once the syrup thickens, reduce heat to low and stir in the lemon juice and vanilla extract. This not only balances the sweetness but helps preserve the apples’ color.
- Add the drained apple slices to the syrup. Stir gently and cook for 5 minutes, just until the apples begin to soften. They should still hold their shape, as they’ll cook further during the canning process.
- Using sterilized canning jars, fill each with the hot apple mixture, leaving about 1 inch of headspace. Wipe the rims clean with a damp cloth to ensure a proper seal.
- Fit each jar with sterilized lids and bands. Process in a boiling water canner for 25 minutes (adjust for altitude if necessary). Remove jars and let them cool on a towel-lined surface. You’ll hear a satisfying “pop” as each lid seals.
- After 24 hours, check seals and label each jar with the date. Store in a cool, dark place for up to 12 months.
Notes
- Always use firm, tart apples for the best texture and balance.
- If using cornstarch instead of Clear Jel, store the jars in the refrigerator instead of the pantry.
- Avoid overcooking the apples before canning they’ll become too soft after processing.
- Stir constantly while thickening the syrup to avoid lumps or scorching.
- Always process the jars for safety; skipping canning could risk spoilage.


