Green Bean Casserole – Classic Thanksgiving Side
Yummy green bean casserole
Green bean casserole is a dish that has stood the test of time, especially around the holidays. At its core, it combines tender green beans with a creamy, savory sauce and a crispy topping. What makes it so special is the contrast between textures and flavors. The beans add freshness, the sauce brings richness, and the topping adds crunch and aroma. It is no surprise that this classic green bean casserole has become one of the most loved Thanksgiving dishes across America. People return to it year after year because it feels familiar, comforting, and reliable while still leaving room for creativity in preparation.
Why You’ll Love This Recipe
Cooking green bean casserole at home is not just about following tradition, it is about creating a dish that tastes better than anything you can buy pre-made. Here is why this recipe works so well:

Preparation and Cooking Time
Ingredients
For the base:
For the topping:
Notes:

Step-by-Step Instructions

Step 1: Prepare the beans
Bring a pot of salted water to a boil and add the green beans. Blanch for 3 to 4 minutes until bright green and slightly tender. Drain and immediately place them in ice water. This step stops cooking and preserves their color and snap.

Step 2: Make the sauce
In a large skillet, melt butter over medium heat. Add onion and sauté until soft and fragrant. Stir in garlic and mushrooms, cooking until the mushrooms release their liquid and turn golden. Sprinkle in flour and cook for 1 minute to remove raw taste. Gradually whisk in broth and milk, stirring constantly until the sauce thickens. Season with soy sauce, salt, and pepper. This creamy base should coat the back of a spoon but remain pourable.

Step 3: Combine beans and sauce
Add the blanched beans to the skillet with the sauce. Toss gently so every bean is coated. This ensures the flavor seeps into the beans without breaking them apart.

Step 4: Assemble the casserole
Preheat oven to 375°F (190°C). Transfer the bean mixture to a buttered 9×13-inch baking dish. Spread evenly. Sprinkle half of the fried onions over the top before baking. This layer will meld into the casserole, adding texture inside as well as on top.

Step 5: Bake and finish
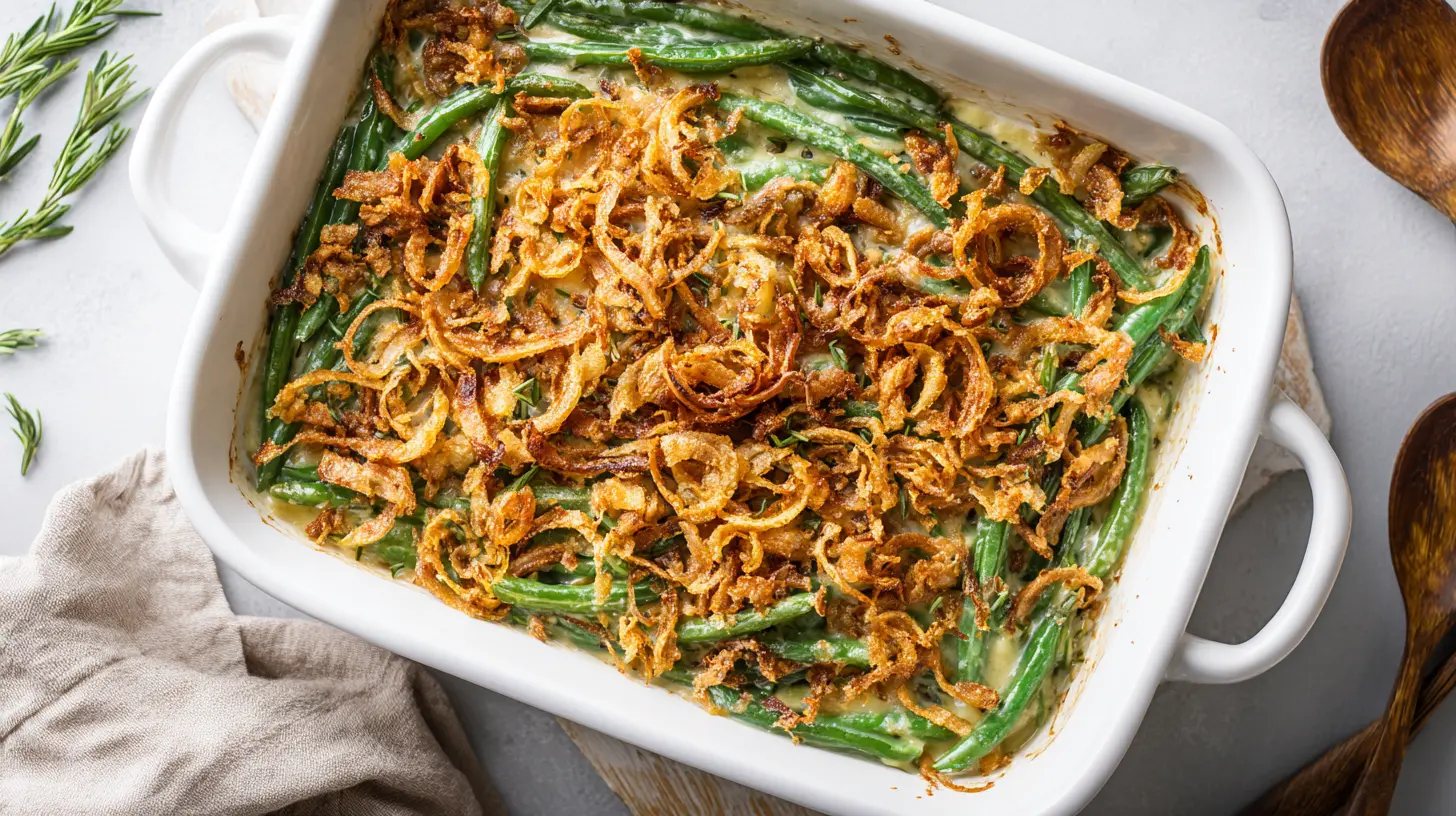
Bake uncovered for 20 minutes. Remove from oven, stir lightly, and top with the remaining fried onions and Parmesan if using. Return to the oven for another 8 to 10 minutes until the top is golden and crispy. Serve hot.
How to Serve
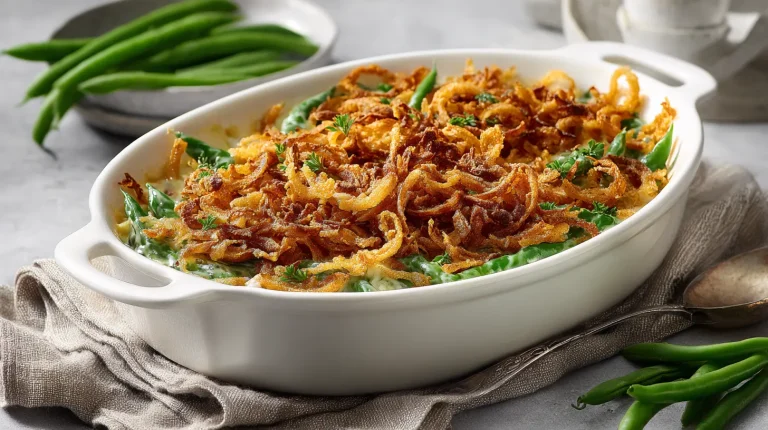
Green bean casserole is most often seen as part of Thanksgiving cooking, but it deserves a place year-round. On a holiday table, serve it alongside roasted turkey, mashed potatoes, and stuffing for a balanced spread of Thanksgiving green beans and other comforting classics. For a weeknight dinner, it pairs well with roasted chicken or grilled salmon. Plate it in a white ceramic dish or shallow gratin pan for a clean, modern presentation. Garnish with a sprinkle of fresh parsley for color contrast.

Additional Tips
Recipe Variations
Freezing and Storage
Nutritional Information (per serving, about 8 servings)
Final Words
Green bean casserole is a staple for good reason. It is easy to prepare, endlessly adaptable, and always welcome on the table. From the creamy base to the crispy topping, each bite offers the perfect balance of textures. Whether you follow the classic green bean casserole recipe or try a modern twist, it will quickly become one of your go-to Thanksgiving recipes side dishes and beyond. Cooking this at home gives you control over quality and flavor, and once you master it, you will never go back to canned versions again.
FAQ’s
Green Bean Casserole | Classic Thanksgiving Side
Course: Casserole Recipes8
servings20
minutes30
minutes220
kcalIngredients
1 pound fresh green beans, trimmed and cut into 2-inch pieces (or use frozen beans for convenience)
2 tablespoons unsalted butter
1 small onion, finely chopped
2 garlic cloves, minced
8 ounces mushrooms, sliced (optional, adds depth of flavor)
2 tablespoons all-purpose flour
1 cup chicken or vegetable broth
1 cup whole milk or half-and-half
1 teaspoon soy sauce (enhances umami flavor)
½ teaspoon salt
¼ teaspoon black pepper
For the topping:
1 ½ cups crispy fried onions (store-bought or homemade)
½ cup grated Parmesan cheese (optional for extra crispness)
Directions
- Bring a pot of salted water to a boil and add the green beans. Blanch for 3 to 4 minutes until bright green and slightly tender. Drain and immediately place them in ice water. This step stops cooking and preserves their color and snap.
- In a large skillet, melt butter over medium heat. Add onion and sauté until soft and fragrant. Stir in garlic and mushrooms, cooking until the mushrooms release their liquid and turn golden. Sprinkle in flour and cook for 1 minute to remove raw taste. Gradually whisk in broth and milk, stirring constantly until the sauce thickens. Season with soy sauce, salt, and pepper. This creamy base should coat the back of a spoon but remain pourable.
- Add the blanched beans to the skillet with the sauce. Toss gently so every bean is coated. This ensures the flavor seeps into the beans without breaking them apart.
- Preheat oven to 375°F (190°C). Transfer the bean mixture to a buttered 9×13-inch baking dish. Spread evenly. Sprinkle half of the fried onions over the top before baking. This layer will meld into the casserole, adding texture inside as well as on top.
- Bake uncovered for 20 minutes. Remove from oven, stir lightly, and top with the remaining fried onions and Parmesan if using. Return to the oven for another 8 to 10 minutes until the top is golden and crispy. Serve hot.
Notes
- Use fresh beans whenever possible. They keep their texture better than canned.
- Do not skip the blanching step, it sets the color and prevents sogginess.
- For extra flavor, add a pinch of nutmeg to the sauce. It pairs beautifully with creamy dishes.
- If making ahead, keep the topping separate until just before baking to preserve crispness.
- A cast-iron skillet can double as both cooking pan and serving dish, keeping the casserole warm longer.


