Easy Marshmallow Rice Krispie Brains for Halloween Recipe
Marshmallow Rice Krispie Brains for Halloween
There are Halloween treats that look spooky but taste amazing, and then there are ones that completely steal the show. Marshmallow Rice Krispie Brains for Halloween belong to the second category. These gooey, chewy, and delightfully creepy treats are perfect for parties, school events, and family gatherings. They have that perfect mix of fun and fright that every Halloween dessert should have.
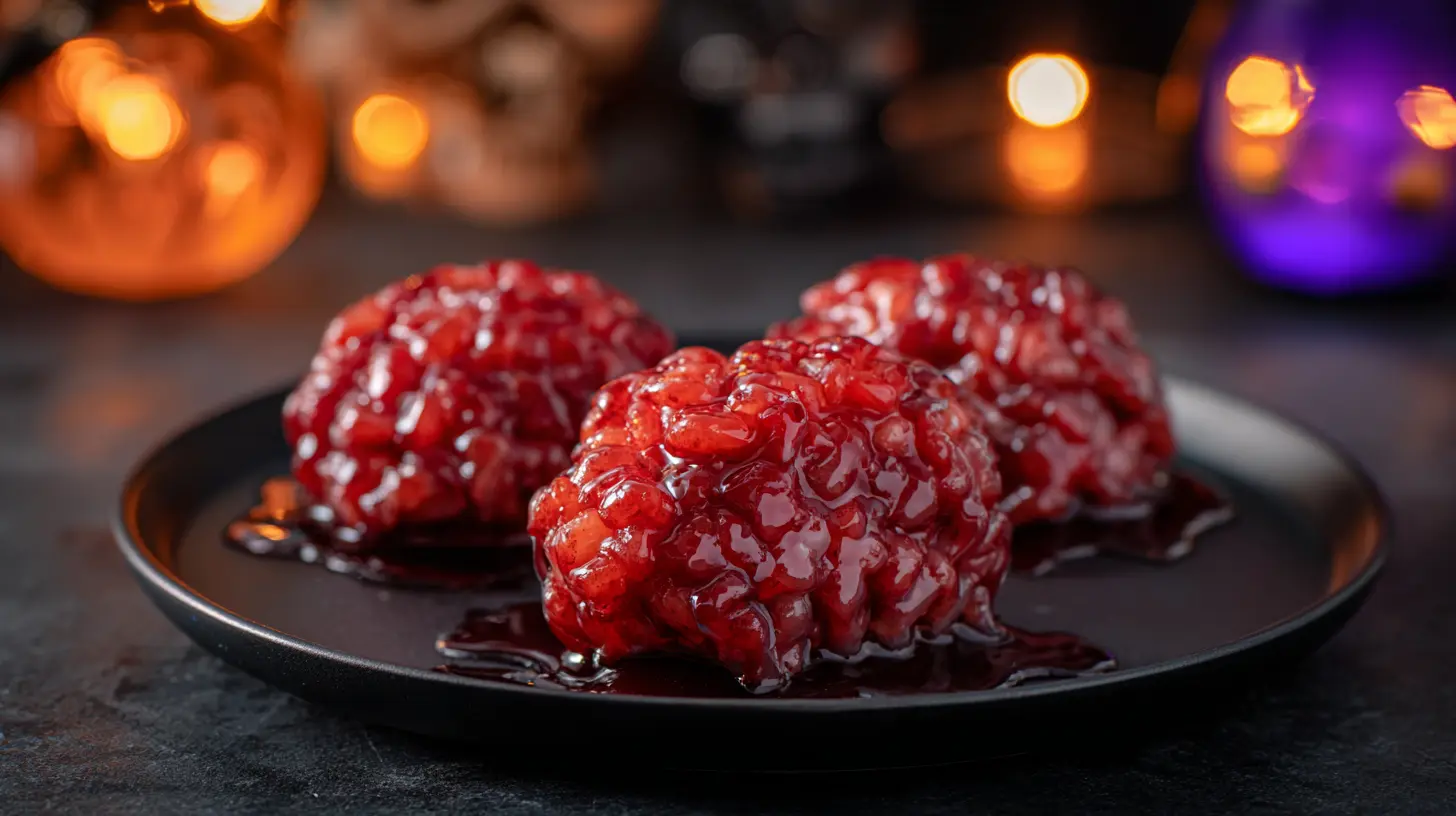
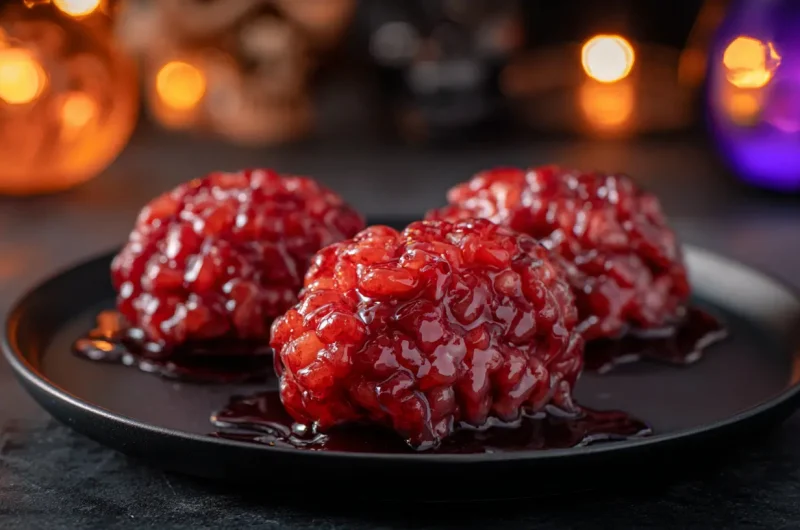
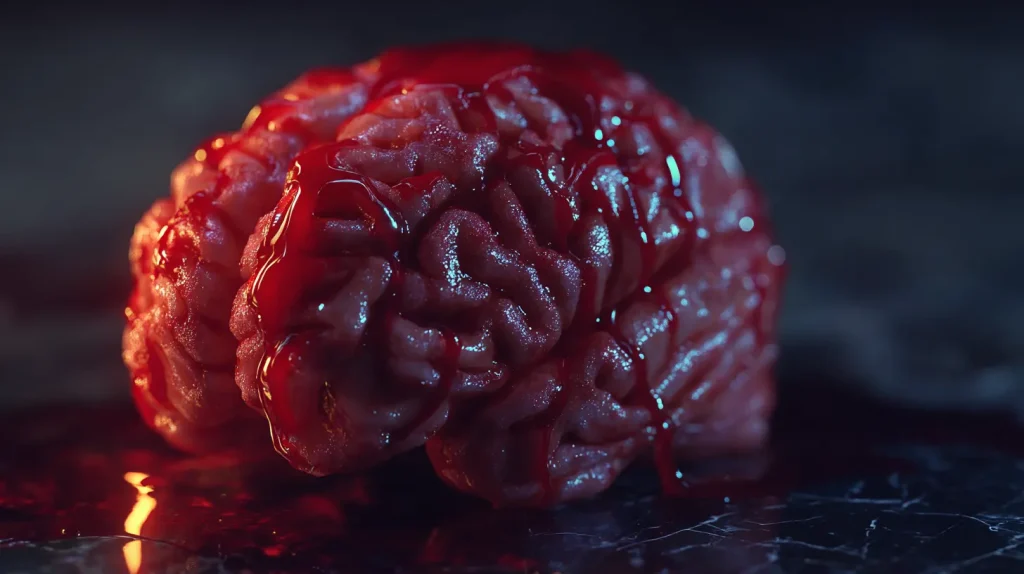
The base of this recipe is a classic marshmallow rice crispy mixture, but it’s taken to a new level of creativity. The soft, sticky marshmallow binds perfectly with crispy rice cereal to form a chewy texture that kids and adults both love. Shaping them into little brains gives a fun and eerie twist that fits the Halloween theme perfectly. When tinted with a touch of food coloring and decorated just right, they look realistic enough to give a playful scare but taste so good you can’t resist grabbing another one.
This recipe combines simplicity with artistry. Even if you’ve never made a Halloween dessert before, you’ll be surprised at how easy and satisfying this one is. The marshmallows melt into a smooth, sweet coating, the cereal gives crunch, and the food coloring adds a touch of Halloween magic. The end result is a soft, chewy, and slightly sticky bite that’s both festive and delicious.
What makes Marshmallow Rice Krispie Brains for Halloween so special is that it takes a nostalgic childhood treat and transforms it into something imaginative. You get to play with food in the best possible way molding it into shapes that make people laugh and squirm while they enjoy every bite.
Why You’ll Love This Recipe
You’ll love this recipe because it’s a perfect combination of simple ingredients, fast preparation, and creative presentation. Unlike many Halloween desserts that require baking, chilling, or complex decoration steps, these brains are no-bake and come together in less than 30 minutes. That means more time enjoying the festivities and less time stressing in the kitchen.
This is one of those Halloween Rice Krispy Treats Ideas that balances spooky appearance with irresistible taste. The sweetness of the marshmallow, the light crunch of the rice cereal, and the chewy texture combine to create the Perfect Rice Krispie Treats Recipe that fits any spooky celebration.
Preparation and Cooking Time, also Serving
This recipe yields enough for a small party or family gathering, but you can easily double or triple it for larger events.
Ingredients
Substitution Notes
Step-by-Step Instructions

Step 1: Melt the Marshmallows
In a large nonstick saucepan, melt the butter over low heat. Add the marshmallows and stir continuously until they melt into a smooth, glossy mixture. Once fully melted, remove from heat immediately to avoid overcooking.

Step 2: Add Coloring and Flavor
Stir in vanilla extract if using, then add a few drops of red or pink food coloring. Mix until the color is evenly distributed. Add more drops until you achieve your desired “brain” color light pink for a realistic tone or bright red for a spooky effect.

Step 3: Add the Cereal
Pour in the crispy rice cereal and fold it into the marshmallow mixture. Use a sturdy spatula or spoon coated with a little butter to prevent sticking. Mix gently until all cereal pieces are evenly coated.

Step 4: Shape the Brains
While the mixture is still warm, grease your hands lightly with butter or oil. Scoop a small handful and form it into an oval shape. Press lightly along the center with your finger or the handle of a spoon to create the brain’s central groove. Use small curved motions to mimic brain folds. Repeat until all the mixture is used.

Step 5: Add Creepy Details
Once the brains are shaped, drizzle a little edible red gel, strawberry syrup, or colored icing over the top to create realistic “veins” or “blood.” This adds a spooky, shiny finish that looks like freshly made brains ready for your Halloween table.

Step 6: Cool and Serve
Place the shaped brains on parchment paper to cool completely. Once firm, transfer them to a tray or airtight container. They’ll stay fresh for up to three days at room temperature.
How to Serve
Serving Marshmallow Rice Krispie Brains for Halloween is as fun as making them. Arrange them on a dark tray or a Halloween-themed platter for maximum visual impact. You can add a few small props like plastic spiders, candy eyeballs, or fake cobwebs to complete the look.
For a Halloween party, serve them as part of a dessert table with other spooky treats like cupcakes, cookies, or punch. Pairing them with red-colored drinks such as berry juice or mocktails adds to the creepy effect. If you’re serving these at a kids’ party, place each brain in a small cupcake liner or mini muffin wrapper for easy handling and less mess.
If you want to elevate the presentation, drizzle extra strawberry syrup right before serving for that glossy “freshly made” look. You can also sprinkle edible glitter for a magical touch. These treats are eye-catching, photogenic, and a guaranteed crowd-pleaser.
Additional Tips
Recipe Variations
These variations let you get creative with textures and flavors while keeping the theme intact. Whether you go spooky, silly, or sweet, each version adds its own charm to your Halloween Rice Crispy display. You can also try Drunk Witch Cocktail as it’s also a Halloween special drink!
Freezing and Storage
Nutritional Information
Approximate values per serving (1 brain):
These are estimates and may vary depending on the ingredients and decorations you use.
Final Words
Marshmallow Rice Krispie Brains for Halloween are more than just spooky treats; they’re a creative, edible craft that brings smiles and laughter to every party. They’re quick to make, fun to shape, and delicious to eat. Whether you’re planning a full Halloween buffet or just need something fun for the kids, these treats fit perfectly into the celebration.
The simplicity of ingredients and the flexibility of design make them a go-to recipe for busy families or anyone who wants to add something playful to their dessert table. You can make them realistic and eerie or colorful and cute the possibilities are endless. They hold up well for parties and are easy to transport, making them one of the most versatile Halloween Rice Crispy Treats Halloween ideas you can make.
So gather your cereal, marshmallows, and food coloring, and let your inner chef have some fun. Once you make them, you’ll see why these treats have become one of the most beloved spooky desserts for Halloween parties everywhere. They’re proof that you don’t need complicated ingredients or hours of work to make something creative and delicious.
FAQ’s
Easy Marshmallow Rice Krispie Brains for Halloween Recipe
Course: Halloween Recipes10
servings10
minutes10
minutes160
kcal15
minutesIngredients
6 cups crispy rice cereal
1 package (10 oz) mini marshmallows
3 tablespoons unsalted butter
Red or pink food coloring (gel works best for vibrant tones)
1 teaspoon vanilla extract (optional for flavor)
1 tablespoon corn syrup (optional for extra gloss)
Edible red gel or strawberry syrup for drizzle (for a realistic “bloody” look)
Directions
- In a large nonstick saucepan, melt the butter over low heat. Add the marshmallows and stir continuously until they melt into a smooth, glossy mixture. Once fully melted, remove from heat immediately to avoid overcooking.
- Stir in vanilla extract if using, then add a few drops of red or pink food coloring. Mix until the color is evenly distributed. Add more drops until you achieve your desired “brain” color light pink for a realistic tone or bright red for a spooky effect.
- Pour in the crispy rice cereal and fold it into the marshmallow mixture. Use a sturdy spatula or spoon coated with a little butter to prevent sticking. Mix gently until all cereal pieces are evenly coated.
- While the mixture is still warm, grease your hands lightly with butter or oil. Scoop a small handful and form it into an oval shape. Press lightly along the center with your finger or the handle of a spoon to create the brain’s central groove. Use small curved motions to mimic brain folds. Repeat until all the mixture is used.
- Once the brains are shaped, drizzle a little edible red gel, strawberry syrup, or colored icing over the top to create realistic “veins” or “blood.” This adds a spooky, shiny finish that looks like freshly made brains ready for your Halloween table.
- Place the shaped brains on parchment paper to cool completely. Once firm, transfer them to a tray or airtight container. They’ll stay fresh for up to three days at room temperature.
Notes
- Always work quickly after mixing the cereal because the marshmallow mixture firms up fast.
- Lightly grease your hands and utensils to prevent the sticky mess.
- Use gel food coloring instead of liquid for brighter, more intense color without altering texture.
- For perfectly shaped brains, mold the mixture while still warm, but not hot.
- Let them cool completely before adding decorative gel or syrup to avoid melting.
- Store in airtight containers to keep them chewy and soft.

