

Kimchi Pancake – Easy Crispy Korean Kimchijeon Recipe
Kimchi Pancake
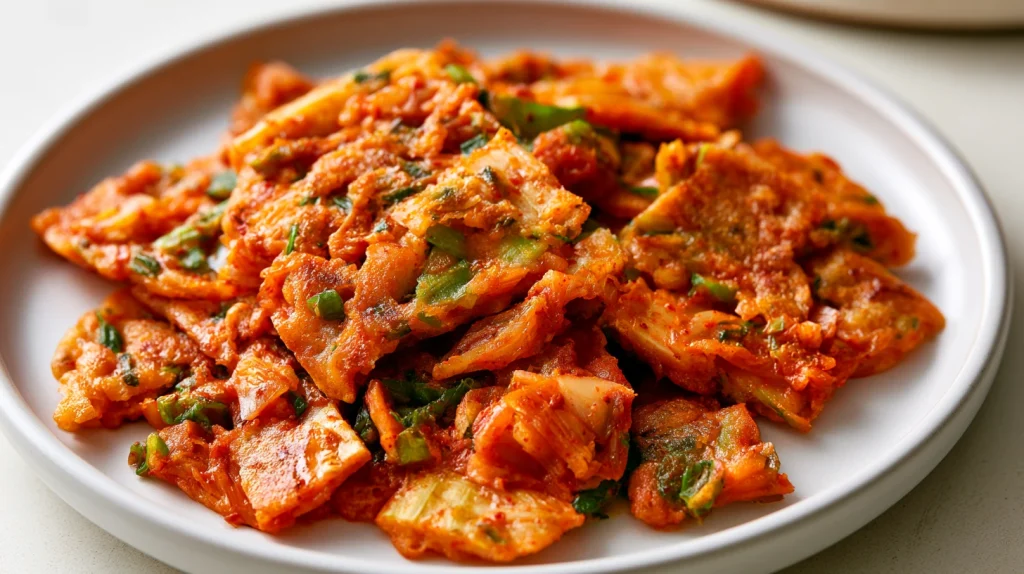
A kimchi pancake is one of the most satisfying Korean dishes to make at home when you want something crisp, savory, spicy, and quick. Known as kimchijeon in Korean, this pancake combines fermented kimchi with a simple batter and a hot pan to create a dish with deeply browned edges, a tender center, and plenty of tangy kimchi flavor. The appeal comes from contrast. The outside should become thin and crisp while the inside remains soft enough to hold the kimchi together. The kimchi brings acidity, fermentation, saltiness, and mild heat, while the pancake batter provides a neutral base that allows those flavors to stand out.
A well-made kimchi pancake should not taste like a thick flour pancake with kimchi mixed into it. The batter should be relatively thin, the kimchi should be distributed throughout the pancake, and the pan should be hot enough to create a crisp surface. These details make the difference between an ordinary pancake and a properly textured Korean-style dish. This recipe is particularly useful when you have leftover kimchi in the refrigerator. Because kimchi is already seasoned, very little additional seasoning is needed. The natural liquid from the kimchi can also be incorporated into the batter to strengthen its color and flavor.
The dish is commonly served as a snack, appetizer, side dish, or light meal. You can keep it simple with kimchi and scallions, add tofu for extra substance, or include pork for a richer version. That flexibility makes it easy to adapt according to what you have available. If you are searching for a Kimchi Pancake Recipe Easy enough for a weekday, this method keeps the ingredient list practical while focusing on the cooking technique that gives the pancake its signature crispness.
The recipe also works well for anyone interested in Korean-inspired vegetarian cooking. Tofu can be added to create a more filling pancake, while mushrooms, scallions, or other vegetables can provide additional texture without requiring meat. Whether you are making your first kimchi pancake or improving a recipe you already know, the key is simple: use flavorful kimchi, keep the batter light, heat the pan properly, and give the pancake enough time to brown before flipping.
Why You’ll Love This Recipe
Preparation and Cooking Time, Also Serving
For the crispiest result, cook the pancake immediately after mixing the batter rather than letting it sit for a long time.
Ingredients
For the Dipping Sauce
Substitution Notes
Step-by-Step Instructions

Step 1: Prepare the Kimchi
Place the kimchi in a bowl and chop it into small, bite-sized pieces so it can be evenly distributed throughout the pancake rather than forming large pockets. Reserve the kimchi juice separately because it provides important acidity, color, and seasoning to the batter. If the kimchi contains particularly large pieces of cabbage, cut them into smaller sections with kitchen scissors or a knife so the finished pancake will be easy to slice and eat.
Step 2: Make the Batter
Whisk the flour, cornstarch, cold water, egg, sugar, salt, and black pepper together in a large bowl until just combined, then add the reserved kimchi juice and stir until the batter becomes smooth but still relatively loose. Fold in the chopped kimchi and sliced scallions, mixing only until everything is evenly distributed. Do not overmix the batter because excessive stirring can develop too much gluten and produce a pancake that is heavier and less crisp.
Step 3: Heat the Pan Properly
Place a large nonstick or well-seasoned skillet over medium-high heat and add enough neutral oil to create a thin, even layer across the cooking surface. Allow the oil to heat thoroughly before adding the batter because a lukewarm pan can cause the pancake to absorb too much oil and become soft instead of crisp. Test the heat by dropping a tiny amount of batter into the pan and checking that it immediately begins to sizzle.
Step 4: Cook the First Side
Pour the batter into the hot skillet and immediately spread it into a thin, even circle using the back of a spoon or spatula, aiming for a relatively thin layer rather than a thick pancake. Arrange the sliced red chili over the top if using, then drizzle a small amount of additional oil around the edges so it can work underneath the pancake as it cooks. Allow the first side to cook for approximately 3 to 5 minutes without repeatedly moving it, until the underside is deeply golden and the edges look crisp and set.
Step 5: Flip and Finish the Pancake
Slide a wide spatula carefully underneath the pancake and flip it in one confident movement, adding another small amount of oil around the edges if the pan appears dry. Press the pancake gently with the spatula so it maintains good contact with the skillet, then cook the second side for approximately 3 to 4 minutes until it is browned, crisp, and cooked through. If the pancake is large and difficult to flip, you can slide it onto a plate, place another plate over it, and carefully invert it before returning it to the skillet.
Step 6: Slice and Serve
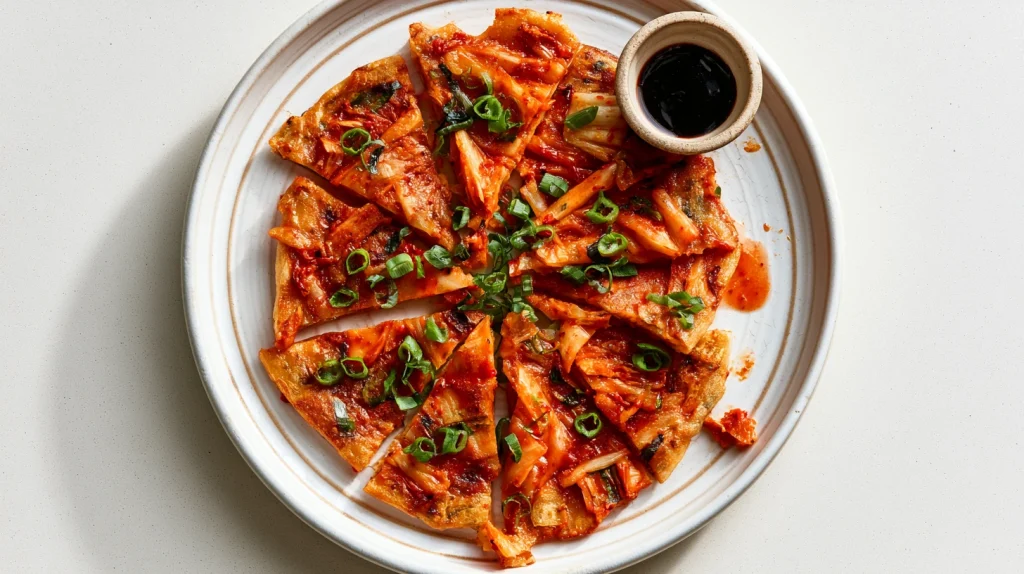
Transfer the finished pancake to a wire rack or a plate lined lightly with paper towel and allow it to rest for one or two minutes before cutting, which gives the crisp surface a chance to stabilize without allowing the pancake to steam excessively. Slice it into wedges or squares using a sharp knife or pizza cutter, then serve immediately with the prepared dipping sauce while the edges are still crisp and the center remains warm and tender.
How to Serve
Additional Tips
Recipe Variations
Freezing and Storage
Nutritional Information
The following values are approximate for one-third of the large pancake, excluding the dipping sauce.
Actual nutritional values will vary according to the type of kimchi, amount of oil, flour, egg, and dipping sauce used.
Final Words
A good kimchi pancake is all about technique rather than complexity. The ingredients are simple, but the final texture depends on a few important decisions: use flavorful kimchi, keep the batter relatively loose, heat the pan properly, use enough oil, and allow the pancake to brown before flipping.
The result should be crisp around the edges, lightly browned underneath, tender in the center, and packed with the tangy flavor of fermented kimchi. That combination makes kimchi pancake an excellent snack, appetizer, side dish, or light meal. This is also one of those recipes that becomes more useful as you make it. Once you understand the basic batter, you can add tofu, pork, seafood, mushrooms, scallions, or other vegetables without changing the fundamental cooking method.
For a vegetarian kitchen, the Korean Kimchi Tofu Pancake variation provides a satisfying way to add more substance while keeping the dish meat-free. For meat lovers, Kimchi & Pork Pancakes bring additional richness and savory flavor. The recipe is also practical for using leftover kimchi. Instead of letting a jar sit in the refrigerator, you can turn it into something crisp, warm, and completely different from eating kimchi on its own.
For the best result, serve the pancake immediately. The contrast between crisp edges and a tender center is what makes this dish so enjoyable, and that texture naturally softens as it sits. Whether you keep your version simple or experiment with different fillings, this kimchi pancake gives you a reliable foundation for making a Korean-inspired favorite at home. Once you master the heat of the pan and the consistency of the batter, you can confidently adjust the recipe to suit your own taste.
FAQs

Kimchi Pancake – Easy Crispy Korean Kimchijeon Recipe
Course: Appetizers3
servings10
minutes15
minutes310
kcalIngredients
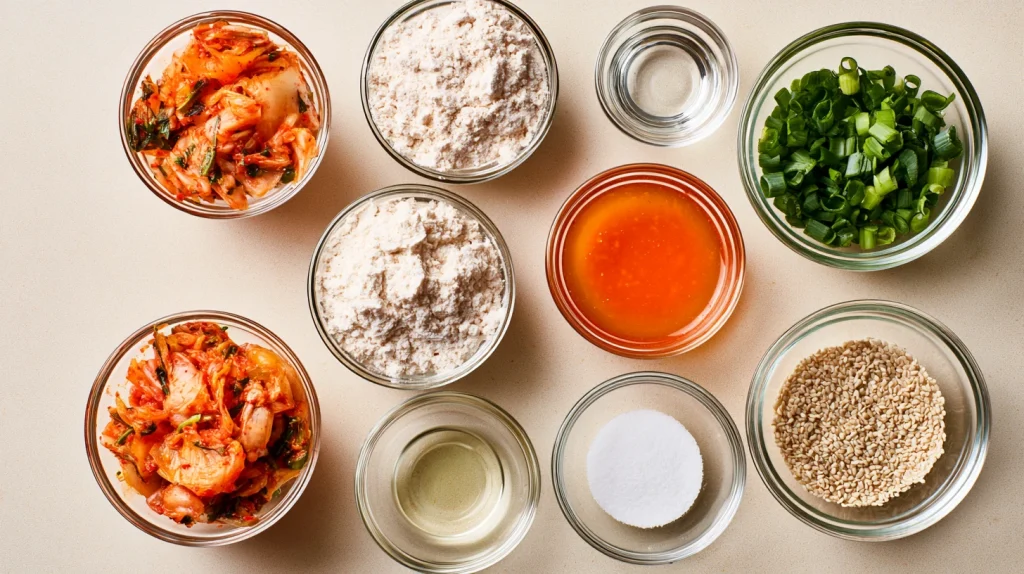
1 cup well-fermented kimchi, chopped into small pieces
1/2 cup kimchi juice
3/4 cup all-purpose flour
1/4 cup cornstarch
1/2 cup cold water
1 large egg
2 scallions, thinly sliced
1/2 teaspoon sugar
1/4 teaspoon salt, or to taste
1/4 teaspoon black pepper
2 to 3 tablespoons neutral cooking oil
1 small red chili, thinly sliced, optional
- For the Dipping Sauce
2 tablespoons soy sauce
1 tablespoon rice vinegar
1 teaspoon toasted sesame oil
1 teaspoon water
1/2 teaspoon sesame seeds
1 scallion, finely sliced
1/2 teaspoon gochugaru, optional
Directions
- Place the kimchi in a bowl and chop it into small, bite-sized pieces so it can be evenly distributed throughout the pancake rather than forming large pockets. Reserve the kimchi juice separately because it provides important acidity, color, and seasoning to the batter. If the kimchi contains particularly large pieces of cabbage, cut them into smaller sections with kitchen scissors or a knife so the finished pancake will be easy to slice and eat.
- Whisk the flour, cornstarch, cold water, egg, sugar, salt, and black pepper together in a large bowl until just combined, then add the reserved kimchi juice and stir until the batter becomes smooth but still relatively loose. Fold in the chopped kimchi and sliced scallions, mixing only until everything is evenly distributed. Do not overmix the batter because excessive stirring can develop too much gluten and produce a pancake that is heavier and less crisp.
- Place a large nonstick or well-seasoned skillet over medium-high heat and add enough neutral oil to create a thin, even layer across the cooking surface. Allow the oil to heat thoroughly before adding the batter because a lukewarm pan can cause the pancake to absorb too much oil and become soft instead of crisp. Test the heat by dropping a tiny amount of batter into the pan and checking that it immediately begins to sizzle.
- Pour the batter into the hot skillet and immediately spread it into a thin, even circle using the back of a spoon or spatula, aiming for a relatively thin layer rather than a thick pancake. Arrange the sliced red chili over the top if using, then drizzle a small amount of additional oil around the edges so it can work underneath the pancake as it cooks. Allow the first side to cook for approximately 3 to 5 minutes without repeatedly moving it, until the underside is deeply golden and the edges look crisp and set.
- Slide a wide spatula carefully underneath the pancake and flip it in one confident movement, adding another small amount of oil around the edges if the pan appears dry. Press the pancake gently with the spatula so it maintains good contact with the skillet, then cook the second side for approximately 3 to 4 minutes until it is browned, crisp, and cooked through. If the pancake is large and difficult to flip, you can slide it onto a plate, place another plate over it, and carefully invert it before returning it to the skillet.
- Transfer the finished pancake to a wire rack or a plate lined lightly with paper towel and allow it to rest for one or two minutes before cutting, which gives the crisp surface a chance to stabilize without allowing the pancake to steam excessively. Slice it into wedges or squares using a sharp knife or pizza cutter, then serve immediately with the prepared dipping sauce while the edges are still crisp and the center remains warm and tender.