

Japanese Cheesecake Recipe – Easy Guide for Fluffy Perfection
Introduction to Japanese Cheesecake
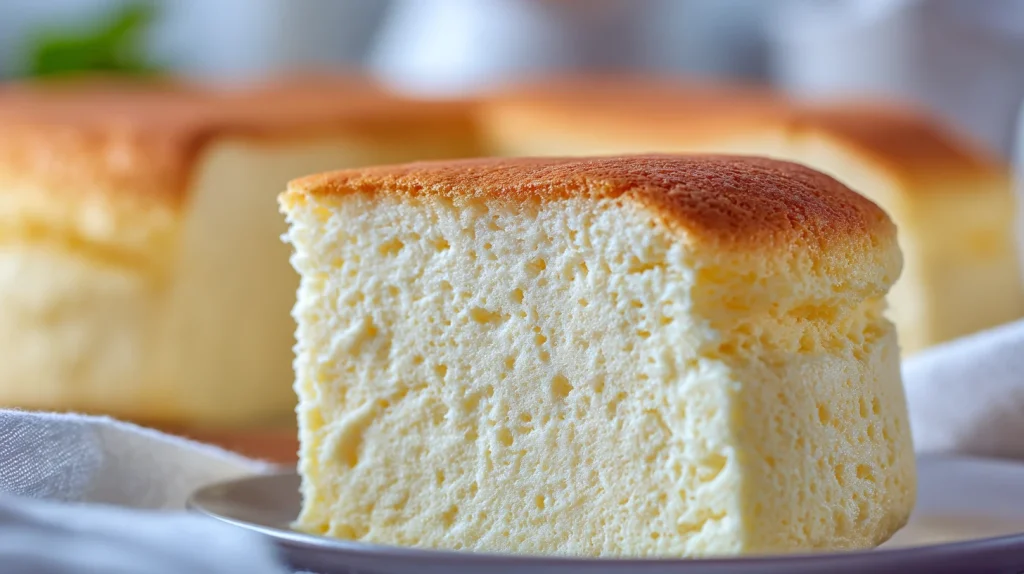
Japanese cheesecake is one of the most delicate desserts you can bake at home. Unlike traditional American cheesecake, which is dense and rich, this version is soft, airy, and gently sweet. Many people call it Japanese Cotton Cake Cheesecake or simply Japanese Cotton Cheesecake because of its cloud-like texture. When baked correctly, it feels almost weightless and melts smoothly in the mouth.
This dessert has gained worldwide popularity because it combines the best qualities of a sponge cake and a classic cheesecake. The result is a light, fluffy cake with a subtle cream cheese flavor and a slightly jiggly center. It is not overly sweet, which makes it perfect for people who enjoy balanced desserts rather than heavy sugary cakes.
Home bakers love learning How To Make Japanese Cheesecake because it looks impressive but uses simple ingredients. It also belongs to the category of Delicate Desserts that focus on texture rather than excessive sweetness. When you slice into a properly baked cake, you will notice the soft sponge structure, gentle bounce, and creamy taste that makes this dessert unforgettable.
Another reason people adore this cake is that it represents the elegance of Japanese Inspired Desserts. The recipe focuses on precision, lightness, and harmony of flavors. Even though there are Different Kinds Of Cheesecake around the world, the Japanese version stands out for its airy structure and refined taste.
This Japanese Cheesecake Recipe Easy guide will show you everything you need to know. From ingredients to baking techniques, you will learn the secrets that make this cake rise beautifully and maintain its signature fluffy texture. Whether you are searching for Easy Japanese Cheesecake, exploring Interesting Cheesecake Recipes, or experimenting with Easy Japanese Recipes Desserts, this recipe is a must try.
By the end of this guide, you will understand how to bake a bakery quality Japanese Cheesecake Recipe Best style cake in your own kitchen.
Why You’ll Love This Recipe
This Japanese Cheesecake Recipe Easy version is designed to be reliable for home cooks while still producing a bakery style result. The method focuses on simple steps and clear techniques so anyone can master it.
The first reason to love this recipe is the texture. The cake is incredibly light and airy. Instead of feeling heavy like traditional cheesecakes, this one feels soft and fluffy, almost like a cloud. That is why many bakers call it Japanese Cotton Cheesecake Recipe.
Another reason is the balanced sweetness. Many Baking Recipes Desserts Cake tend to be extremely sugary, but Japanese desserts usually focus on subtle flavors. The cream cheese adds richness while the sponge structure keeps the dessert light.
This cake also fits perfectly into the category of Easy Decadent Desserts. Even though it tastes luxurious, the ingredients are simple and easy to find. Once you understand the method, you can make it regularly without difficulty.
Many bakers enjoy experimenting with Cute Japanese Recipes, and this cake is a perfect example. Its soft appearance and gentle jiggle make it visually charming and satisfying to serve.
If you enjoy exploring Interesting Cheesecake Recipes, this dessert is an excellent addition to your baking repertoire. It introduces a different texture and technique compared to classic cheesecake baking.
Finally, this cake is versatile. It can be served plain, dusted with powdered sugar, or paired with fruits and sauces. Because it is not overly sweet, it pairs well with many toppings and flavors.
Preparation and Cooking Time
Because this cake belongs to the category of Delicate Desserts, it requires careful baking and cooling. The slow cooling process helps maintain the soft, airy texture.
Ingredients
Substitution Notes
Step by Step Instructions
Step 1: Prepare the Pan and Oven
Preheat the oven to 320°F (160°C). Line the bottom of an 8 inch round cake pan with parchment paper. Lightly grease the sides of the pan.
Wrap the outside of the pan with aluminum foil because the cake will bake in a water bath. The foil prevents water from leaking into the batter.
Place a deep baking tray in the oven where the cake pan will sit later.
Step 2: Melt Cream Cheese Base
In a heatproof bowl combine cream cheese, butter, and milk. Place the bowl over a pot of simmering water and gently melt the ingredients together.
Stir slowly until the mixture becomes smooth and silky. Avoid overheating because high heat can cause the mixture to separate.
Once smooth, remove from heat and allow it to cool slightly.
Step 3: Add Egg Yolks and Flavoring
Add the egg yolks one at a time into the cream cheese mixture while whisking gently.
Stir in the vanilla extract and lemon juice. These ingredients enhance the flavor and balance the richness of the cheese.
The batter should now appear glossy and smooth.
Step 4: Sift the Dry Ingredients
Sift the cake flour and cornstarch into the mixture. This step prevents lumps and ensures a smooth batter.
Whisk gently until the mixture becomes completely smooth. The batter should have a thick but pourable consistency.
Step 5: Prepare the Meringue
In a clean bowl beat the egg whites with salt using an electric mixer.
Once they become foamy begin adding the sugar gradually while continuing to beat. Continue mixing until soft peaks form.
The meringue should look glossy and hold gentle peaks that fold over slightly.
Step 6: Fold the Batter
Take a small portion of the meringue and mix it into the batter. This step lightens the batter and makes folding easier.
Add the remaining meringue in two additions. Use a spatula and fold gently from the bottom upward to maintain the air structure.
Overmixing can remove the air and reduce the fluffy texture.
Step 7: Prepare the Water Bath
Pour the batter into the prepared cake pan and tap the pan lightly to remove large air bubbles.
Place the pan into the baking tray in the oven. Carefully pour hot water into the tray until it reaches halfway up the sides of the cake pan.
This water bath helps the cake bake evenly and prevents cracking.
Step 8: Bake the Cheesecake
Bake the cake for about 60 minutes. The cake will rise significantly and develop a light golden surface.
The center should still have a gentle jiggle when you move the pan slightly.
Step 9: Cool Slowly
Turn off the oven and leave the cake inside with the door slightly open for about 15 minutes.
Remove the cake from the oven and allow it to cool at room temperature before refrigerating.
Cooling slowly prevents the cake from shrinking too much.
How to Serve
Japanese cheesecake is best served slightly chilled or at cool room temperature. Use a sharp knife to slice the cake cleanly.
Dust the top with powdered sugar for a classic presentation. The white sugar contrasts beautifully with the golden surface.
Fresh berries such as strawberries or raspberries pair beautifully with this dessert. Their natural acidity complements the mild sweetness of the cake.
Whipped cream is another excellent addition. A light swirl of cream keeps the dessert airy and elegant.
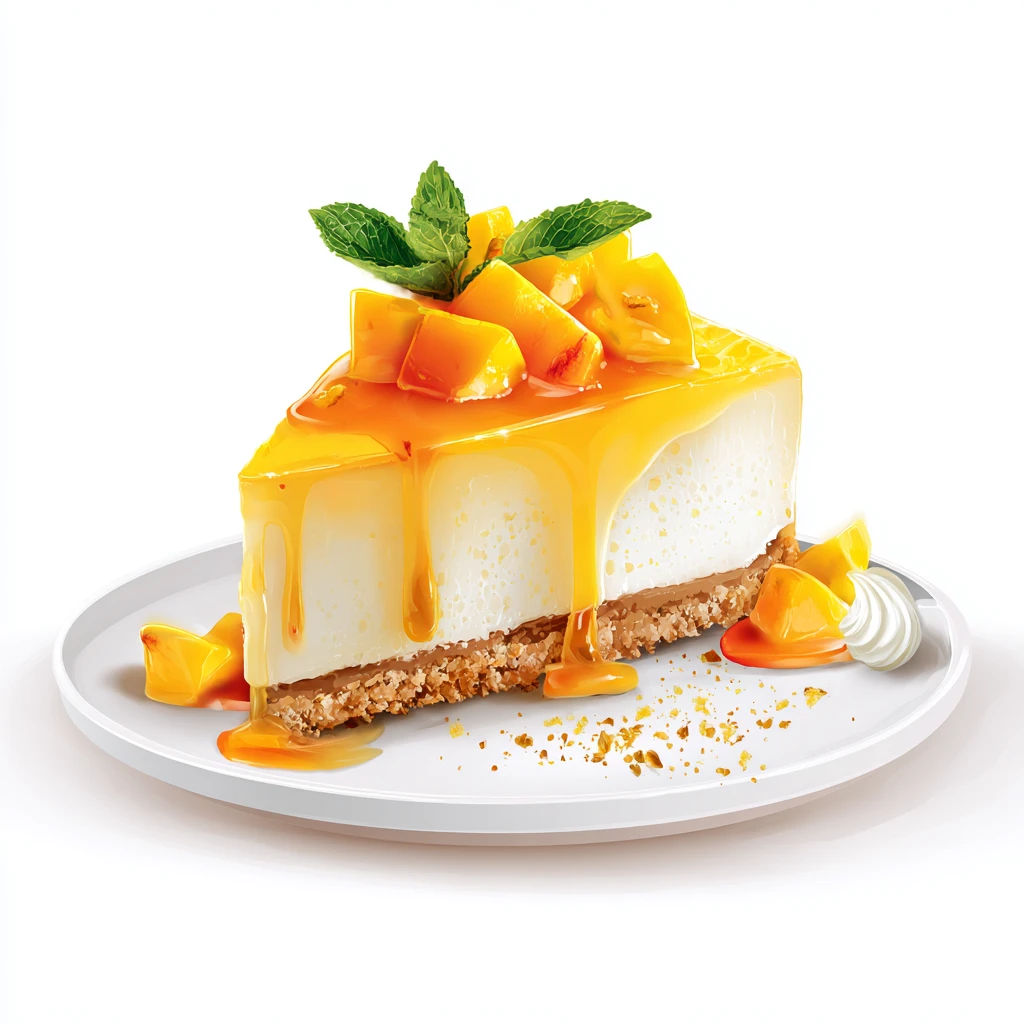
Fruit sauces like strawberry coulis or mango puree can also enhance the flavor. Because this cake is delicate, light toppings work best.
Many bakeries serve Japanese Cotton Cheesecake Recipe style cakes with minimal decoration to highlight the soft texture.
Secret Behind This Recipe
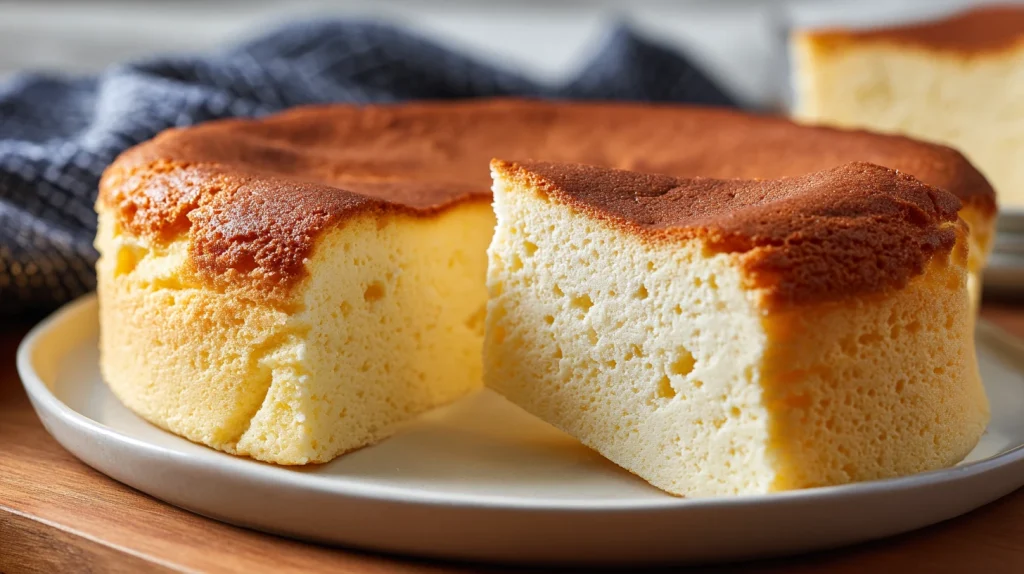
The secret to a successful Japanese Cheesecake Recipe Best version lies in the balance between the cream cheese batter and the meringue.
Properly whipped egg whites create the airy sponge structure that makes this cake unique. If the meringue is too soft the cake will collapse. If it is too stiff it will not blend smoothly.
The water bath is another important element. It provides gentle heat and moisture that allow the cake to bake slowly and evenly.
Careful folding also plays a major role. Preserving the air in the batter is what transforms this cake into a fluffy masterpiece rather than a dense cheesecake.
When these techniques are combined correctly, the result is a perfect Japanese Cotton Cake Cheesecake.
Recipe Variations
Matcha Japanese Cheesecake
Add one tablespoon of matcha powder to the flour mixture. This variation creates a beautiful green color and introduces a subtle tea flavor commonly found in Japanese Inspired Desserts.
Chocolate Japanese Cheesecake
Add melted dark chocolate to the cream cheese base. This version produces a richer dessert while maintaining the signature fluffy texture.
Citrus Japanese Cheesecake
Increase the lemon zest and add a small amount of orange zest. The citrus flavor brightens the cake and adds refreshing aroma.
Additional Tips
These techniques help produce the perfect Easy Japanese Cheesecake every time.
Freezing and Storage
Nutritional Information
Approximate values per serving
Because the cake is light and airy, it contains fewer calories than many traditional cheesecakes.
Final Words
Learning How To Make Japanese Cheesecake at home is a rewarding baking experience. This dessert teaches patience, precision, and the beauty of simple ingredients.
Among the many Different Kinds Of Cheesecake, this one stands out for its light texture and gentle flavor. Once you master the technique, it quickly becomes one of the most satisfying Easy Japanese Recipes Desserts to bake.
This cake also represents the elegance of Japanese Inspired Desserts, where balance and texture matter as much as flavor. Whether you are exploring Weird Desserts Recipes, searching for Interesting Cheesecake Recipes, or simply looking for Easy Decadent Desserts, this fluffy cheesecake deserves a place in your kitchen.
With practice, you will be able to bake a perfectly soft Japanese Cotton Cheesecake Recipe that looks beautiful, tastes delicate, and impresses everyone who tries it.
FAQs

Japanese Cheesecake Recipe
Course: Desserts8
slices25
minutes1
hour60
minutesIngredients
250 g cream cheese (softened)
50 g unsalted butter
100 ml milk
60 g cake flour
20 g cornstarch
6 large eggs (separated)
120 g granulated sugar
1 teaspoon vanilla extract
1 teaspoon lemon juice
1/4 teaspoon salt
Powdered sugar for dusting (optional)
Directions
- Preheat the oven to 320°F (160°C). Line the bottom of an 8 inch round cake pan with parchment paper. Lightly grease the sides of the pan.
- Wrap the outside of the pan with aluminum foil because the cake will bake in a water bath. The foil prevents water from leaking into the batter.
- Place a deep baking tray in the oven where the cake pan will sit later.
- In a heatproof bowl combine cream cheese, butter, and milk. Place the bowl over a pot of simmering water and gently melt the ingredients together.
- Stir slowly until the mixture becomes smooth and silky. Avoid overheating because high heat can cause the mixture to separate. Once smooth, remove from heat and allow it to cool slightly.
- Add the egg yolks one at a time into the cream cheese mixture while whisking gently.
- Stir in the vanilla extract and lemon juice. These ingredients enhance the flavor and balance the richness of the cheese. The batter should now appear glossy and smooth.
- Sift the cake flour and cornstarch into the mixture. This step prevents lumps and ensures a smooth batter. Whisk gently until the mixture becomes completely smooth. The batter should have a thick but pourable consistency.
- In a clean bowl beat the egg whites with salt using an electric mixer. Once they become foamy begin adding the sugar gradually while continuing to beat. Continue mixing until soft peaks form. The meringue should look glossy and hold gentle peaks that fold over slightly.
- Take a small portion of the meringue and mix it into the batter. This step lightens the batter and makes folding easier. Add the remaining meringue in two additions. Use a spatula and fold gently from the bottom upward to maintain the air structure. Overmixing can remove the air and reduce the fluffy texture.
- Pour the batter into the prepared cake pan and tap the pan lightly to remove large air bubbles. Place the pan into the baking tray in the oven. Carefully pour hot water into the tray until it reaches halfway up the sides of the cake pan. This water bath helps the cake bake evenly and prevents cracking.
- Bake the cake for about 60 minutes. The cake will rise significantly and develop a light golden surface. The center should still have a gentle jiggle when you move the pan slightly.
- Turn off the oven and leave the cake inside with the door slightly open for about 15 minutes. Remove the cake from the oven and allow it to cool at room temperature before refrigerating. Cooling slowly prevents the cake from shrinking too much.