

Chocolate Donut Recipe – Easy Soft Homemade Bakery Style
Chocolate Donut
A homemade chocolate donut is one of those treats that never goes out of style. It combines a soft, fluffy dough with deep chocolate flavor, creating a dessert that feels comforting and satisfying from the very first bite. Whether enjoyed with a morning cup of coffee, served as an afternoon snack, or presented as a sweet ending to dinner, a freshly made chocolate donut always feels special.
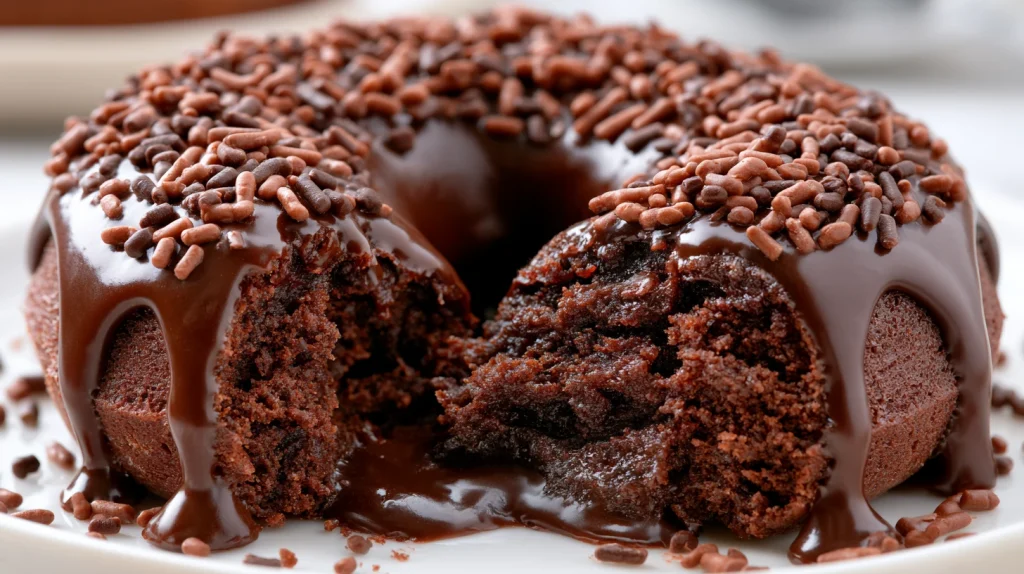
The best chocolate donut has a light, airy texture inside with a slightly crisp exterior. Once coated with a smooth chocolate glaze, every bite becomes rich without being overly sweet. Unlike many store bought versions that can be dry or overly sugary, making a chocolate donut at home allows you to control every detail, from the quality of the cocoa powder to the thickness of the glaze.
One of the biggest reasons people enjoy making this recipe at home is the freshness. Freshly fried donuts have a delicate softness that cannot be matched by packaged versions. The aroma of warm cocoa, butter, and vanilla filling the kitchen is enough to make everyone gather around before the donuts are even glazed.
Although chocolate donuts may look like something that only a bakery can produce, they are surprisingly achievable in a home kitchen. With the right ingredients, careful mixing, and a little patience while the dough rises, anyone can make bakery quality results. This recipe explains every stage clearly so you understand not only what to do but also why each step matters.
Chocolate donuts are also incredibly versatile. They can be decorated with chocolate sprinkles, crushed cookies, chopped nuts, colorful candies, or simply left with a glossy chocolate coating. They fit beautifully into birthday celebrations, family brunches, holiday dessert tables, and weekend baking projects. Their attractive appearance also makes them popular for sharing on social media, where an Aesthetic Donut often catches attention because of its glossy glaze and beautiful finish.
Another reason this recipe stands out is its balanced flavor. Instead of relying only on sweetness, it develops layers of taste through cocoa powder, butter, vanilla, and a touch of salt. Every ingredient has a purpose, resulting in a chocolate donut that tastes rich but never overwhelming.
Chocolate donuts also pair wonderfully with other Desserts Donuts on a dessert platter. If you enjoy creating dessert displays, these donuts look beautiful alongside cookies, brownies, cupcakes, and fruit. They even inspire creative Donut Cakes made by stacking glazed donuts into impressive towers for celebrations. Whether you’re collecting Pictures Of Desserts for inspiration or creating your own Donuts Pictures at home, these homemade donuts deliver both flavor and presentation.
Unlike many complicated bakery recipes, this chocolate donut recipe focuses on techniques that home cooks can easily master. Every instruction has been tested to produce consistent results while avoiding unnecessary complexity. Once you’ve made these donuts once, you’ll have the confidence to repeat the recipe whenever the craving strikes.
Why You’ll Love This Recipe
Preparation and Cooking Time
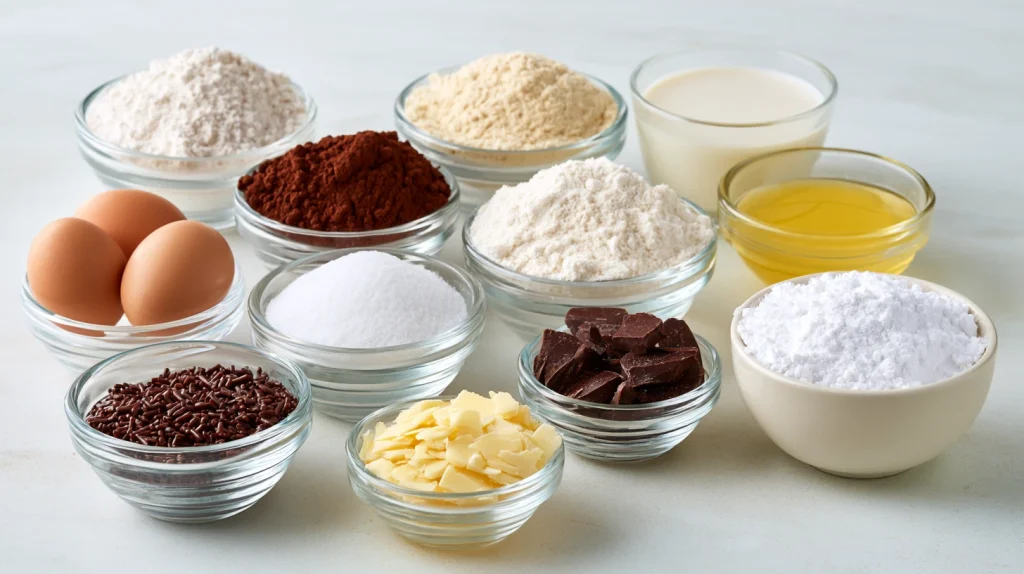
Ingredients
For the Chocolate Donut Dough
For the Chocolate Glaze
Optional Toppings
Substitution Notes
Step-by-Step Instructions

Step 1: Prepare the Dough
Combine the flour, cocoa powder, sugar, instant yeast, and salt in a large mixing bowl. Stir thoroughly so every dry ingredient is evenly distributed. In another bowl whisk together the warm milk, eggs, vanilla extract, softened butter, and sour cream until smooth. Gradually pour the wet mixture into the dry ingredients while mixing continuously. Continue mixing until a rough dough forms and no dry flour remains. The dough should feel soft and slightly sticky rather than dry. Avoid adding extra flour unless absolutely necessary because a softer dough creates a lighter chocolate donut after frying.
Step 2: Knead the Dough
Transfer the dough onto a lightly floured work surface and knead for about 10 to 12 minutes. Push the dough away with the heel of your hand, fold it back, rotate it slightly, and repeat until the surface becomes smooth and elastic. If using a stand mixer, knead with the dough hook for about 8 minutes on medium speed. Proper kneading develops the gluten structure that gives the chocolate donut its airy interior while allowing it to rise evenly during proofing. The finished dough should stretch gently without tearing when pulled.
Step 3: Let the Dough Rise
Place the kneaded dough into a lightly greased bowl and turn it once so every side is lightly coated. Cover the bowl with plastic wrap or a clean kitchen towel and leave it in a warm place for about 60 to 90 minutes until doubled in size. During this resting period, the yeast produces gas that creates thousands of tiny air pockets throughout the dough. This slow rise is what gives a homemade chocolate donut its light texture instead of becoming dense or heavy.
Step 4: Roll and Cut the Donuts
Once the dough has doubled in size, gently press it down to release the excess air without overworking it. Transfer it onto a lightly floured surface and roll it to about 1/2 inch thickness. Use a donut cutter to cut as many donuts as possible, dipping the cutter lightly into flour if it begins to stick. Gather the remaining dough scraps, let them rest for about 10 minutes, then roll them again and continue cutting until all of the dough has been used. Arrange the cut donuts and donut holes on parchment lined baking trays, leaving enough space between each piece so they have room to expand during the second rise.
Step 5: Proof the Cut Donuts
Cover the cut donuts loosely with a clean kitchen towel and let them rise again for 30 to 40 minutes. They should become noticeably puffier and lighter but should not double in size. This second rise is just as important as the first because it creates the delicate texture that makes each chocolate donut soft and airy after frying. If the room is cool, allow a few extra minutes for proofing. Avoid moving the trays too much during this stage so the dough keeps its shape.
Step 6: Fry the Chocolate Donuts
Pour about 2 to 3 inches of vegetable oil into a heavy pot or deep fryer and heat it to 350°F (175°C). Carefully lower two or three donuts into the hot oil without overcrowding the pan. Fry each side for about 1½ to 2 minutes until they are evenly puffed and deep brown. Turn them gently with a slotted spoon or chopsticks to maintain their round shape. Once cooked, transfer the donuts to a wire rack lined with paper towels underneath to catch excess oil. Allow them to cool slightly before glazing.
Step 7: Prepare the Chocolate Glaze
While the donuts cool for a few minutes, whisk together the powdered sugar, cocoa powder, milk, melted butter, vanilla extract, and a pinch of salt until completely smooth. The glaze should be thick enough to coat the donuts evenly while still flowing slowly from the whisk. If it becomes too thick, add a teaspoon of milk at a time. If it becomes too thin, whisk in a little more powdered sugar until the desired consistency is reached.
Step 8: Glaze and Decorate
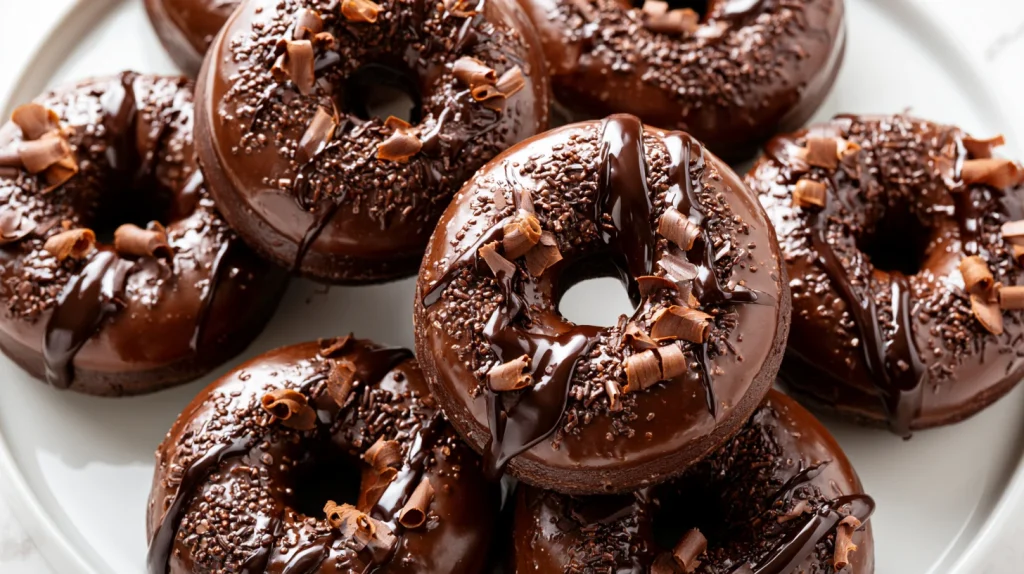
Dip the top of each slightly warm chocolate donut into the glaze, lifting it straight up and allowing the excess glaze to drip back into the bowl. Place the glazed donuts on a wire rack and immediately add your preferred toppings before the glaze begins to set. Chocolate sprinkles, chopped hazelnuts, cookie crumbs, or mini chocolate chips all work beautifully. Leave the donuts undisturbed for about 15 to 20 minutes so the glaze develops a smooth finish. The finished chocolate donut should have a glossy coating, a soft interior, and a rich chocolate flavor in every bite.
How to Serve
A homemade chocolate donut is delicious on its own, but thoughtful presentation makes it even more enjoyable.
Additional Tips
Recipe Variations
Freezing and Storage
Nutritional Information
Approximate values per serving (1 chocolate donut)
Nutritional values are estimates and may vary depending on the exact ingredients and toppings used.
Final Words
Making a homemade chocolate donut is a rewarding baking project that delivers bakery quality results using simple ingredients and straightforward techniques. From preparing the soft yeast dough to dipping each donut into a rich chocolate glaze, every step contributes to a dessert that is fresh, flavorful, and far more satisfying than most store bought options.
This recipe is designed to help home cooks achieve consistent results with confidence. By taking your time during the mixing, proofing, and frying stages, you will create donuts with a light texture, rich chocolate flavor, and a smooth glossy finish. Whether you are preparing them for breakfast, dessert, a family gathering, or simply because you love baking, these chocolate donuts are sure to become a favorite recipe you’ll return to again and again.
FAQs

Chocolate Donut Recipe – Easy Soft Homemade Bakery Style
Course: Desserts12
servings30
minutes18
minutes320
kcalIngredients
- For the Chocolate Donut Dough
4 cups (500 g) all purpose flour
1/3 cup (35 g) unsweetened cocoa powder
1/3 cup (65 g) granulated sugar
2¼ teaspoons instant yeast
1 teaspoon fine salt
1 cup (240 ml) whole milk, warmed to about 110°F (43°C)
2 large eggs, room temperature
1/4 cup (57 g) unsalted butter, softened
1 teaspoon pure vanilla extract
2 tablespoons sour cream
Vegetable oil for frying
- For the Chocolate Glaze
2 cups (240 g) powdered sugar
1/4 cup (25 g) unsweetened cocoa powder
4 tablespoons whole milk
2 tablespoons melted unsalted butter
1 teaspoon vanilla extract
Pinch of fine salt
- Optional Toppings
Chocolate sprinkles
Rainbow sprinkles
Mini chocolate chips
Chopped roasted hazelnuts
Crushed chocolate sandwich cookies
Toasted coconut flakes
Chocolate curls
Directions
- Combine the flour, cocoa powder, sugar, instant yeast, and salt in a large mixing bowl. Stir thoroughly so every dry ingredient is evenly distributed. In another bowl whisk together the warm milk, eggs, vanilla extract, softened butter, and sour cream until smooth. Gradually pour the wet mixture into the dry ingredients while mixing continuously. Continue mixing until a rough dough forms and no dry flour remains. The dough should feel soft and slightly sticky rather than dry. Avoid adding extra flour unless absolutely necessary because a softer dough creates a lighter chocolate donut after frying.
- Transfer the dough onto a lightly floured work surface and knead for about 10 to 12 minutes. Push the dough away with the heel of your hand, fold it back, rotate it slightly, and repeat until the surface becomes smooth and elastic. If using a stand mixer, knead with the dough hook for about 8 minutes on medium speed. Proper kneading develops the gluten structure that gives the chocolate donut its airy interior while allowing it to rise evenly during proofing. The finished dough should stretch gently without tearing when pulled.
- Place the kneaded dough into a lightly greased bowl and turn it once so every side is lightly coated. Cover the bowl with plastic wrap or a clean kitchen towel and leave it in a warm place for about 60 to 90 minutes until doubled in size. During this resting period, the yeast produces gas that creates thousands of tiny air pockets throughout the dough. This slow rise is what gives a homemade chocolate donut its light texture instead of becoming dense or heavy.
- Once the dough has doubled in size, gently press it down to release the excess air without overworking it. Transfer it onto a lightly floured surface and roll it to about 1/2 inch thickness. Use a donut cutter to cut as many donuts as possible, dipping the cutter lightly into flour if it begins to stick. Gather the remaining dough scraps, let them rest for about 10 minutes, then roll them again and continue cutting until all of the dough has been used. Arrange the cut donuts and donut holes on parchment lined baking trays, leaving enough space between each piece so they have room to expand during the second rise.
- Cover the cut donuts loosely with a clean kitchen towel and let them rise again for 30 to 40 minutes. They should become noticeably puffier and lighter but should not double in size. This second rise is just as important as the first because it creates the delicate texture that makes each chocolate donut soft and airy after frying. If the room is cool, allow a few extra minutes for proofing. Avoid moving the trays too much during this stage so the dough keeps its shape.
- Pour about 2 to 3 inches of vegetable oil into a heavy pot or deep fryer and heat it to 350°F (175°C). Carefully lower two or three donuts into the hot oil without overcrowding the pan. Fry each side for about 1½ to 2 minutes until they are evenly puffed and deep brown. Turn them gently with a slotted spoon or chopsticks to maintain their round shape. Once cooked, transfer the donuts to a wire rack lined with paper towels underneath to catch excess oil. Allow them to cool slightly before glazing.
- While the donuts cool for a few minutes, whisk together the powdered sugar, cocoa powder, milk, melted butter, vanilla extract, and a pinch of salt until completely smooth. The glaze should be thick enough to coat the donuts evenly while still flowing slowly from the whisk. If it becomes too thick, add a teaspoon of milk at a time. If it becomes too thin, whisk in a little more powdered sugar until the desired consistency is reached.
- Dip the top of each slightly warm chocolate donut into the glaze, lifting it straight up and allowing the excess glaze to drip back into the bowl. Place the glazed donuts on a wire rack and immediately add your preferred toppings before the glaze begins to set. Chocolate sprinkles, chopped hazelnuts, cookie crumbs, or mini chocolate chips all work beautifully. Leave the donuts undisturbed for about 15 to 20 minutes so the glaze develops a smooth finish. The finished chocolate donut should have a glossy coating, a soft interior, and a rich chocolate flavor in every bite.