

Plum Jam Recipe – Easy Homemade Plum Preserves
Plum Jam
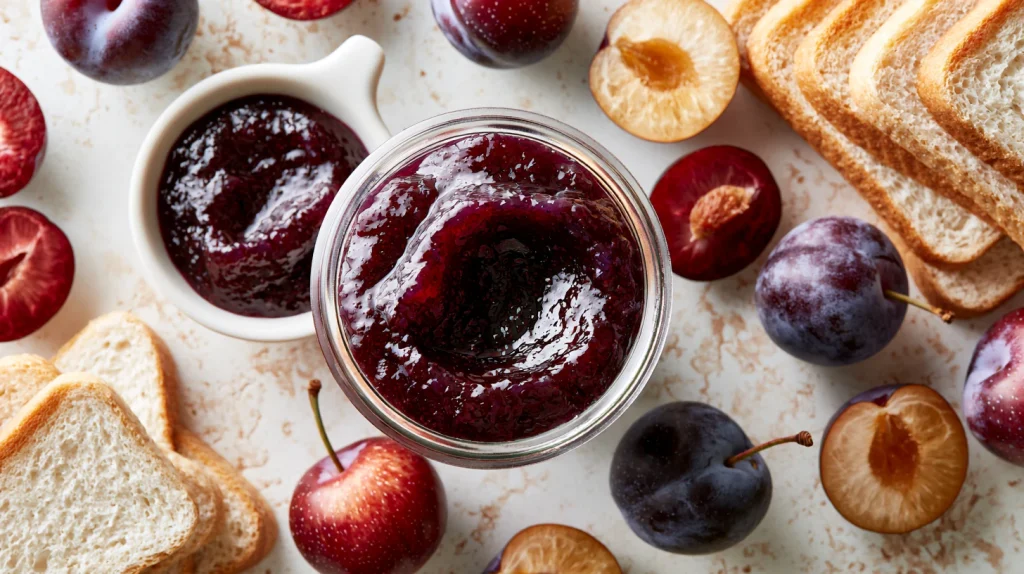
Plum jam is one of the easiest and most rewarding homemade preserves you can make. It captures the sweet, juicy flavor of ripe plums and transforms them into a rich, glossy spread that can be enjoyed throughout the year. Whether spread over warm toast, layered into cakes, or stirred into yogurt, homemade plum jam offers a depth of flavor that store bought versions rarely match. One of the reasons people love plum jam is its perfect balance of sweetness and natural tartness. As the plums cook, their juices concentrate and develop a rich fruit flavor while the natural pectin helps create a smooth, spreadable consistency.
Making jam at home may seem intimidating at first, but it is actually a simple process when you understand a few key techniques. This guide walks you through every step in clear, practical language, making it suitable for both beginners and experienced home cooks. From selecting the best plums to testing when the jam has reached the perfect consistency, every stage is explained carefully so you can achieve excellent results with confidence. A good plum jam is more than just fruit and sugar. It is about preserving the natural flavor of seasonal produce while creating something versatile enough to enjoy in countless ways. Fresh summer plums become a delicious spread that can brighten breakfasts, desserts, pastries, and even savory dishes.
Many people search for a Simple Plum Jam Recipe because they want a dependable method that delivers consistent results without complicated equipment. This recipe focuses on straightforward techniques while producing a beautifully balanced jam with rich fruit flavor and a silky texture. If you are looking for an Easy Plum Jam that can be prepared with common pantry ingredients, this recipe is an excellent choice. It works well with many varieties of plums, allowing you to use whatever is fresh and available during the season.
Among all the homemade fruit preserves, this Plum Jam Recipe stands out because of its vibrant color, naturally sweet flavor, and remarkable versatility. It is equally suitable for everyday breakfasts and special homemade gifts during the holidays. Whether you call it Homemade Plum Preserves Recipe, Traditional Plum Preserves, or simply your family’s favorite plum jam, this recipe delivers reliable results every time. Once you taste the fresh fruit flavor and smooth texture of homemade jam, you may never want to buy commercial jam again.
Why You’ll Love This Recipe
This homemade plum jam recipe is designed to produce a rich, flavorful preserve using simple ingredients and reliable techniques. Every step helps maximize the natural sweetness and vibrant flavor of fresh plums.
Preparation and Cooking Time
Ingredients
Substitution Notes
Step-by-Step Instructions

Step 1: Prepare the Plums
Wash the plums thoroughly under cool running water. Remove the stems, cut each plum in half, remove the pits, and chop the fruit into evenly sized pieces. Keeping the pieces relatively uniform helps the fruit cook evenly and creates a smoother finished jam.
Step 2: Combine the Ingredients
Place the chopped plums into a large heavy bottomed pot. Add the granulated sugar, fresh lemon juice, lemon zest if using, and the optional butter. Stir everything together until the fruit is evenly coated with sugar. Let the mixture rest for about 20 to 30 minutes. During this time the sugar begins drawing juice from the fruit, helping it cook more evenly.
Step 3: Begin Cooking the Jam
Place the pot over medium heat and stir frequently until the sugar has completely dissolved. Once the mixture begins to simmer, increase the heat slightly to maintain a steady boil. Continue stirring regularly to prevent the fruit from sticking to the bottom of the pot.
Step 4: Remove the Foam
As the jam cooks, a layer of foam may develop on the surface. Skim this foam off with a large spoon whenever necessary. Removing the foam creates a clearer, brighter finished jam while improving the appearance of the jars.
Step 5: Cook Until Thickened
Continue boiling the jam while stirring frequently. As moisture evaporates, the fruit begins to soften and naturally break down. The mixture gradually thickens and develops a glossy appearance. Depending on the ripeness of the fruit and the size of the batch, this usually takes between 25 and 35 minutes.
Step 6: Test the Jam
To check if the jam is ready, place a small plate in the freezer for several minutes. Spoon a small amount of hot jam onto the chilled plate and let it sit for about 30 seconds. Push the jam gently with your finger. If the surface wrinkles and the jam does not immediately flow back together, it has reached the proper consistency. If it remains runny, continue cooking for several more minutes before testing again.
Step 7: Prepare the Jars
While the jam finishes cooking, wash the jars and lids thoroughly in hot soapy water or sterilize them according to safe canning practices. Carefully fill the warm jars with the hot jam, leaving about ¼ inch of headspace at the top. Wipe the jar rims clean before securing the lids.
Step 8: Seal and Cool
If using a water bath canning method, process the filled jars according to current safe canning recommendations. For refrigerator jam, allow the jars to cool completely at room temperature before refrigerating. As the jam cools, it continues to thicken and develops its final smooth, spreadable texture.
How to Serve
Additional Tips
Recipe Variations
Freezing and Storage
Nutritional Information
Approximate nutritional values per tablespoon.
Nutritional values are estimates and may vary depending on the variety of plums and the amount of sugar used.
Final Words
Making homemade plum jam is one of the most satisfying ways to preserve the fresh flavor of seasonal fruit. With only a few simple ingredients and careful cooking, you can create a rich, glossy preserve that tastes far better than many store bought varieties. Every jar captures the natural sweetness, vibrant color, and wonderful aroma of ripe plums.
This Plum Jam Recipe is designed to help home cooks achieve dependable results with clear instructions and practical techniques. Whether you are preparing your first batch or continuing a family tradition of making Traditional Plum Preserves, this recipe delivers a smooth texture and balanced fruit flavor that can be enjoyed throughout the year.
Once you master this Quick Plum Jam Recipe, you will discover just how rewarding homemade preserves can be. From breakfast toast to elegant desserts and thoughtful homemade gifts, every jar offers a delicious reminder of fresh plum season and the satisfaction of creating something special in your own kitchen.
FAQs

Plum Jam Recipe – Easy Homemade Plum Preserves
Course: Desserts5
servings20
minutes45
minutes45
kcalIngredients
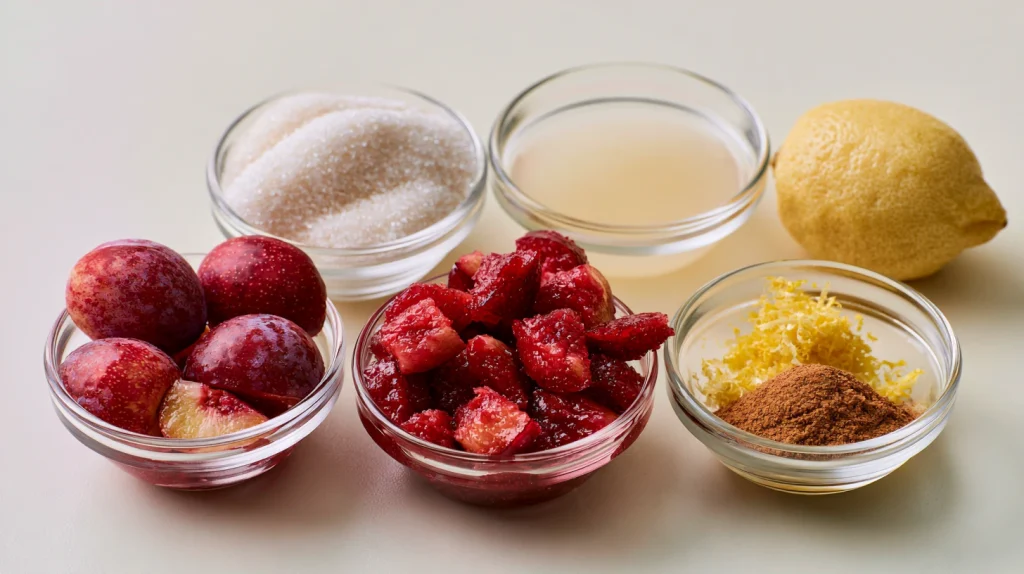
4 pounds ripe plums, washed, pitted, and chopped
4 cups granulated sugar
2 tablespoons fresh lemon juice
1 teaspoon finely grated lemon zest (optional)
½ teaspoon unsalted butter (optional, helps reduce foam)
Directions
- Wash the plums thoroughly under cool running water. Remove the stems, cut each plum in half, remove the pits, and chop the fruit into evenly sized pieces. Keeping the pieces relatively uniform helps the fruit cook evenly and creates a smoother finished jam.
- Place the chopped plums into a large heavy bottomed pot. Add the granulated sugar, fresh lemon juice, lemon zest if using, and the optional butter. Stir everything together until the fruit is evenly coated with sugar. Let the mixture rest for about 20 to 30 minutes. During this time the sugar begins drawing juice from the fruit, helping it cook more evenly.
- Place the pot over medium heat and stir frequently until the sugar has completely dissolved. Once the mixture begins to simmer, increase the heat slightly to maintain a steady boil. Continue stirring regularly to prevent the fruit from sticking to the bottom of the pot.
- As the jam cooks, a layer of foam may develop on the surface. Skim this foam off with a large spoon whenever necessary. Removing the foam creates a clearer, brighter finished jam while improving the appearance of the jars.
- Continue boiling the jam while stirring frequently. As moisture evaporates, the fruit begins to soften and naturally break down. The mixture gradually thickens and develops a glossy appearance. Depending on the ripeness of the fruit and the size of the batch, this usually takes between 25 and 35 minutes.
- To check if the jam is ready, place a small plate in the freezer for several minutes. Spoon a small amount of hot jam onto the chilled plate and let it sit for about 30 seconds. Push the jam gently with your finger. If the surface wrinkles and the jam does not immediately flow back together, it has reached the proper consistency. If it remains runny, continue cooking for several more minutes before testing again.
- While the jam finishes cooking, wash the jars and lids thoroughly in hot soapy water or sterilize them according to safe canning practices. Carefully fill the warm jars with the hot jam, leaving about ¼ inch of headspace at the top. Wipe the jar rims clean before securing the lids.
- If using a water bath canning method, process the filled jars according to current safe canning recommendations. For refrigerator jam, allow the jars to cool completely at room temperature before refrigerating. As the jam cools, it continues to thicken and develops its final smooth, spreadable texture.